
How to Publish an App on the App Store (2026 Guide)

To publish an app on the App Store, you enroll in the Apple Developer Program ($99 a year), create an app record in App Store Connect, fill in the listing (screenshots, description, privacy policy, privacy label, age rating), upload a build from Xcode or EAS, test it in TestFlight, and submit it to App Review. Most submissions are reviewed in under a day.
A first submission usually fails on a small thing, not on the app itself. This guide is the list of small things, in order, checked against Apple's and Google's documentation as of October 2026, with Google Play at the end.
Before you start: what you need
- An Apple Account with two-factor authentication. Apple will not let you enroll without it.
- A finished app. Not a demo. Apple's guideline 2.1 asks for "final versions with all necessary metadata and fully functional URLs".
- A privacy policy at a public URL. Required by Apple and Google, even if you collect nothing.
- A support URL. A simple page with a contact email is enough.
- A Mac, or not. With Xcode you need one. With Expo's EAS you do not (more on that below).
Step 1: Enroll in the Apple Developer Program
The Apple Developer Program costs 99 USD per membership year, shown in local currency during enrollment. Nonprofits, accredited schools and government entities can request a fee waiver. There is no free tier that lets you publish to the App Store.
You enroll either as an individual or as an organization, and the choice decides whose name appears on your App Store page.
Individual
You need your legal name, an address (no P.O. boxes) and to be of legal age where you live. Apple is blunt about the trade-off: your personal legal name "will be displayed as the seller name of your apps on the App Store." For a first app, most people accept this. It is the fastest route.
Organization
The organization must be a legal entity that can sign contracts. Apple does not accept DBAs or trade names. You also need:
- a D-U-N-S Number, which is free from Dun & Bradstreet. Apple says to allow up to 5 business days to receive it, plus up to 2 business days for Apple to see it;
- a public, working website on a domain associated with the organization;
- the legal authority to bind the company to agreements.
Individuals pay at enrollment. Organizations pay only after Apple Developer Support has verified their details and emailed next steps. Apple tells you to contact them if you have no confirmation within 24 hours of purchase. Budget a day or two for an individual and one to two weeks for a company, mostly D-U-N-S.
Step 2: Set up App Store Connect
App Store Connect is where your app's listing, builds, testers and submissions live.
- Register a bundle ID. A reverse-domain string such as
com.yourname.yourapp. It has to match the one in your project, and it cannot change once you upload a build. EAS can register it for you on the first build. - Create the app record. Under Apps, add a new app with its name (30 characters max), primary language, bundle ID and an internal SKU.
- Sign the Paid Apps Agreement if you will charge. Free apps are covered by the developer agreement. Paid apps and in-app purchases need the Paid Apps Agreement, plus tax and banking information, signed by the Account Holder. Do this early: in-app purchases will not load, even in testing, until it is active.
Step 3: Prepare the store listing
Here is everything Apple requires for an iPhone app, from the version information and app information references.
| Item | Required | Notes |
|---|---|---|
| App name | Yes | 30 characters |
| Subtitle | No | 30 characters, worth filling |
| Description | Yes | Up to 4,000 characters |
| Keywords | Yes | 100 bytes, comma separated |
| Support URL | Yes | Working page with contact details |
| Privacy policy URL | Yes | Public, matches what the app does |
| iPhone screenshots | Yes | 1 to 10, 6.9" size |
| iPad screenshots | If it runs on iPad | 13" size |
| App icon | Yes | 1024 x 1024, from your build |
| Age rating | Yes | Questionnaire in App Information |
| App Privacy answers | Yes | The "nutrition label" |
| Copyright | Yes | e.g. "2026 Your Name" |
| Review contact and demo login | Yes, login if needed | Phone, email, test account |
Screenshots
Apple now asks for one iPhone size: the 6.9-inch display, at 1320 x 2868, 1290 x 2796 or 1260 x 2736 pixels in portrait. Smaller iPhones get scaled versions. If your app runs on iPad, you also need 13-inch iPad screenshots (2064 x 2752 or 2048 x 2732). No transparency. Screenshots must show the real app: guideline 2.3 asks that metadata "accurately reflect the app's core experience".
The App Privacy label
Every app needs App Privacy details: what data you collect, whether it is linked to the user, and whether it is used for tracking. This includes data collected by SDKs inside your app, so your analytics, crash reporting and payment libraries count. A label that says "no data collected" on an app with analytics is an easy rejection.
Age rating
The questionnaire is mandatory, and an unrated app cannot be published. Apple's ratings are now 4+, 9+, 13+, 16+ and 18+. If your app has user-generated content or an AI chat, answer those questions honestly; they move the rating.
Two rules that catch apps with sign-up
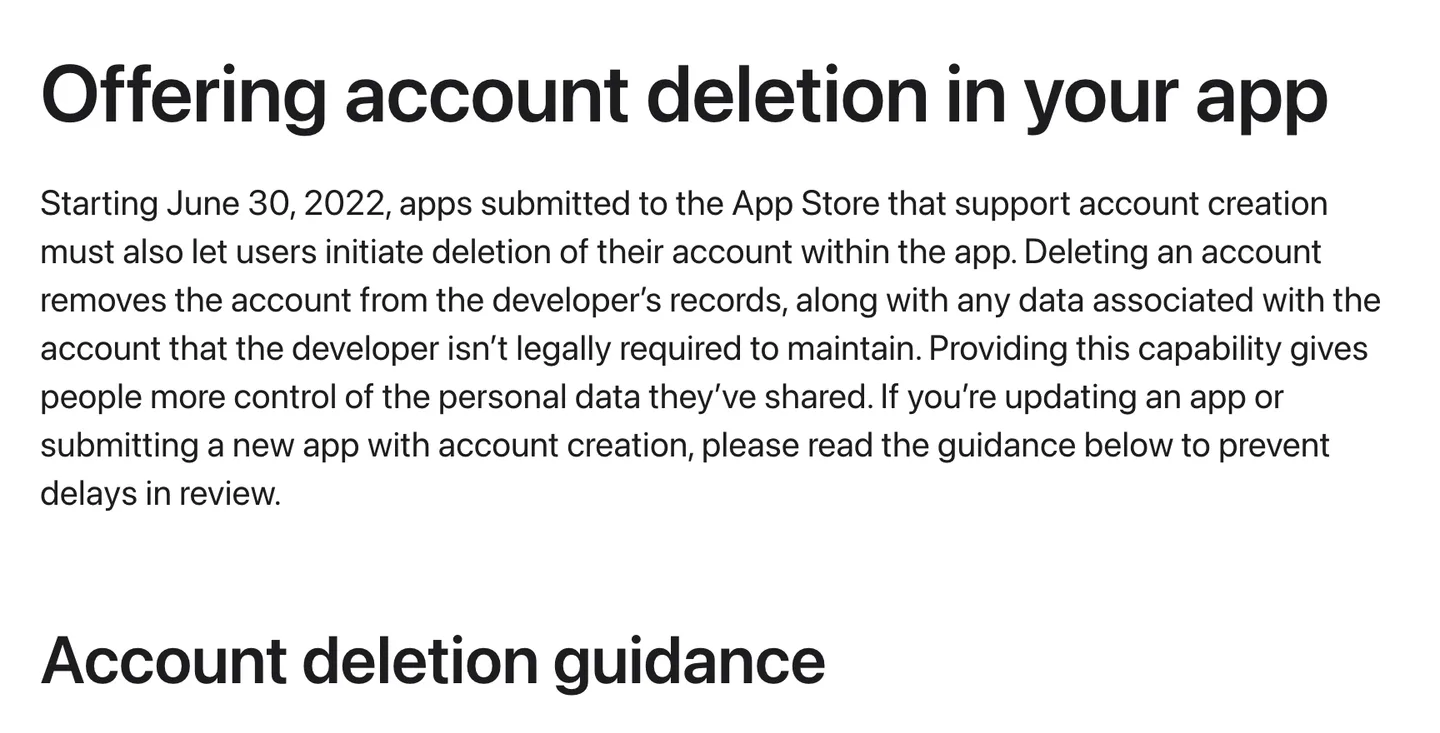
Apple's account deletion requirement. Deactivating an account is not enough. Source
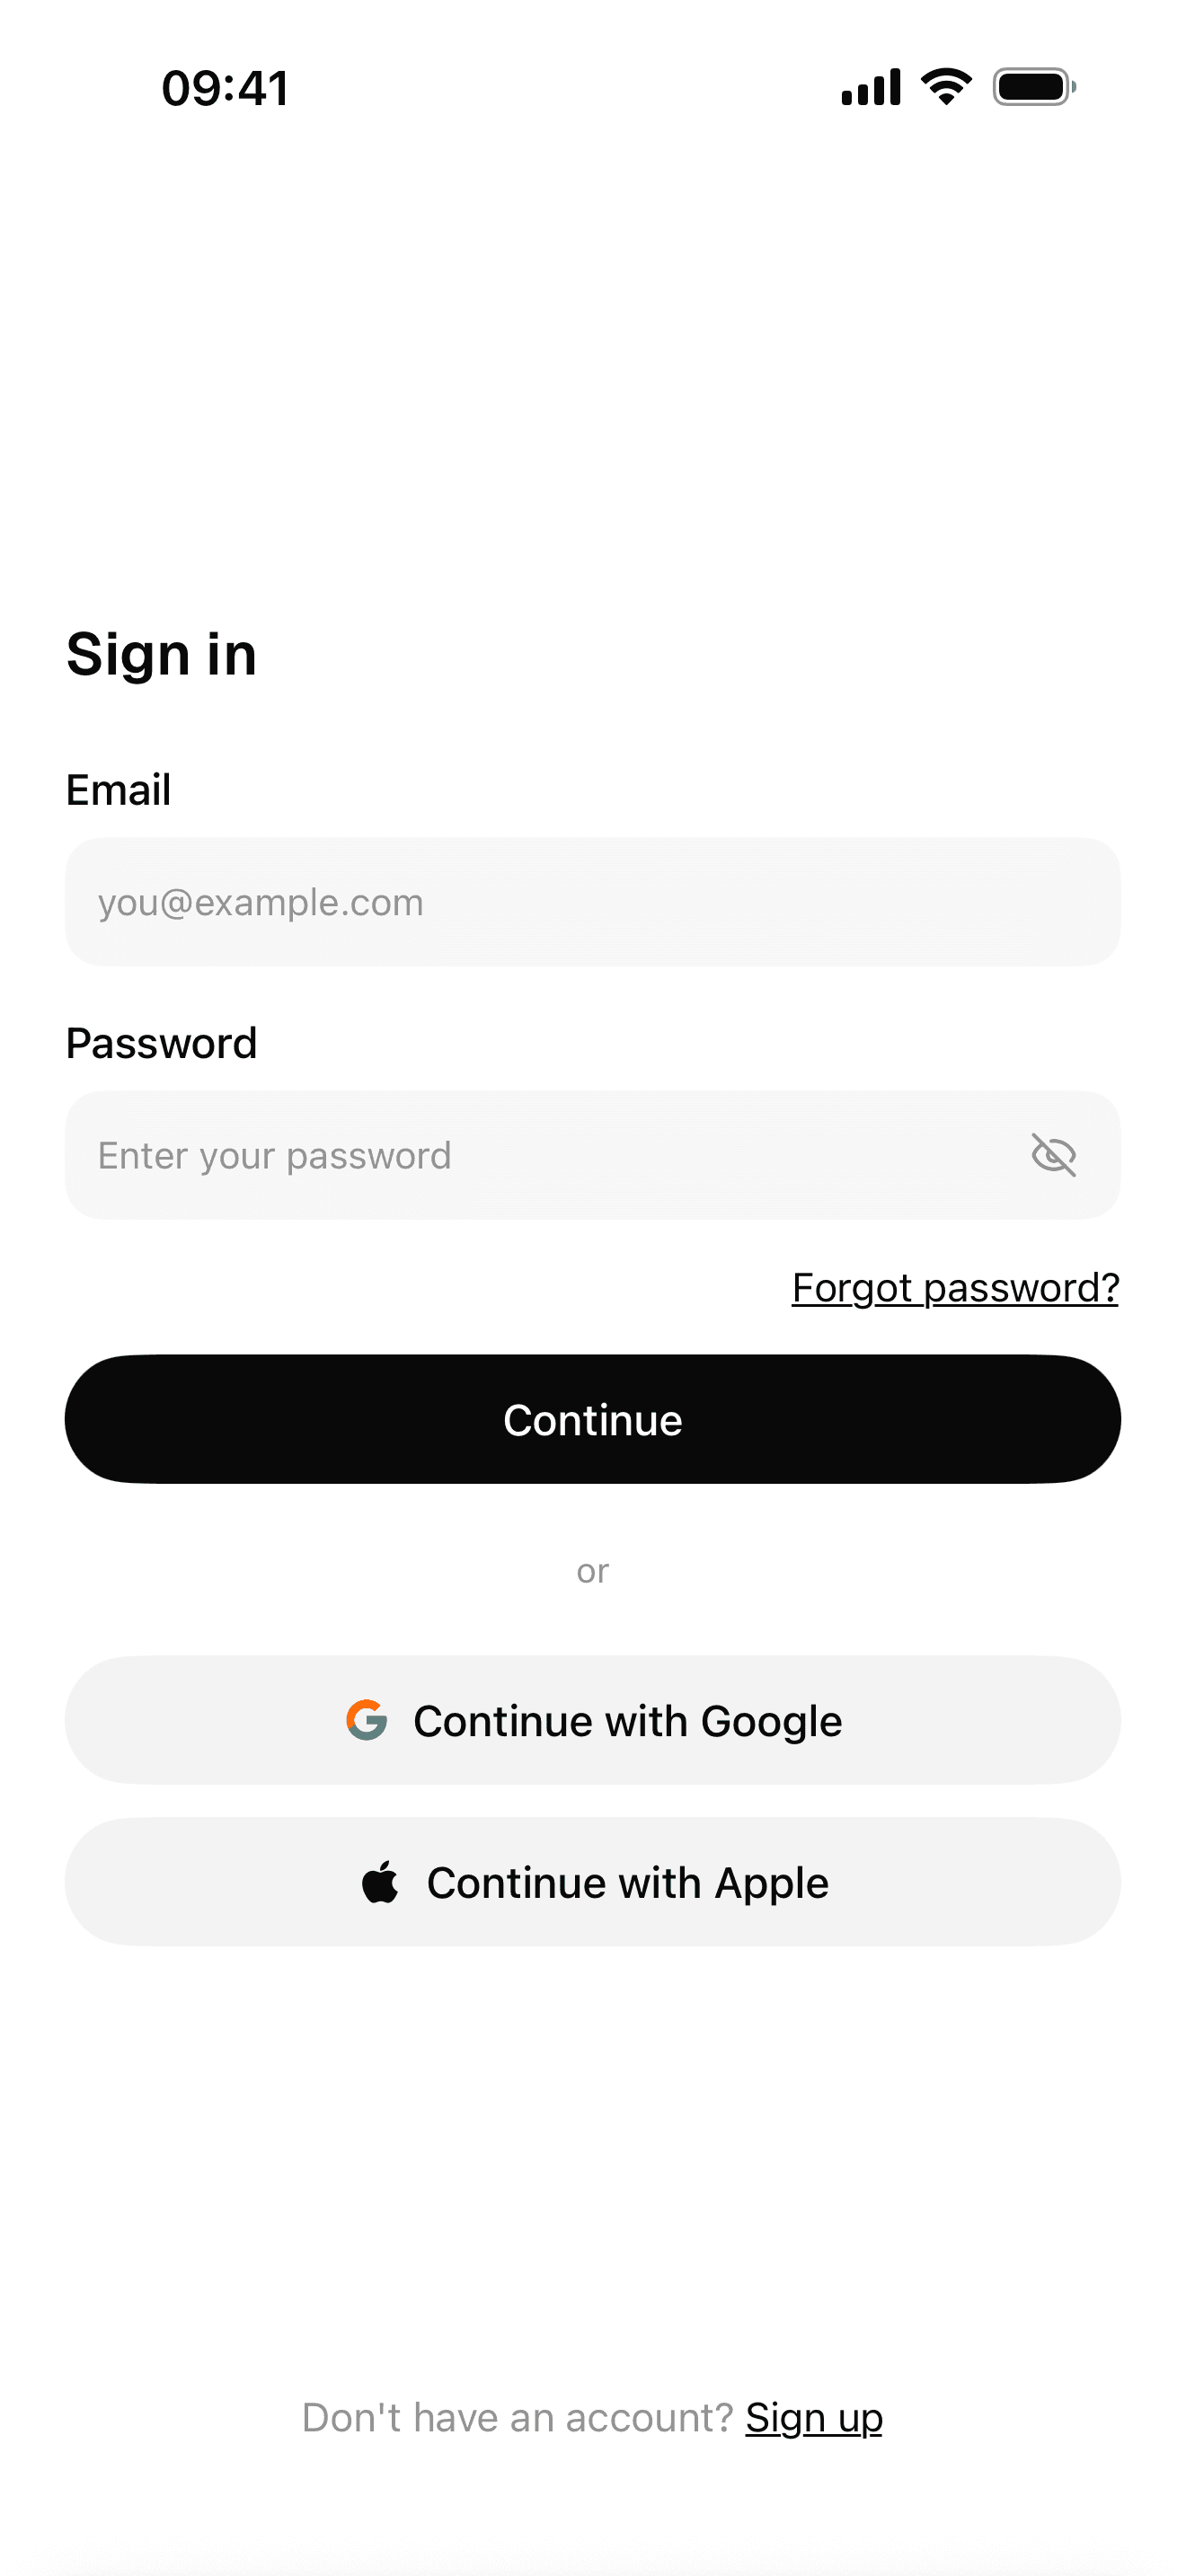
Sign-in with Google, Apple and email
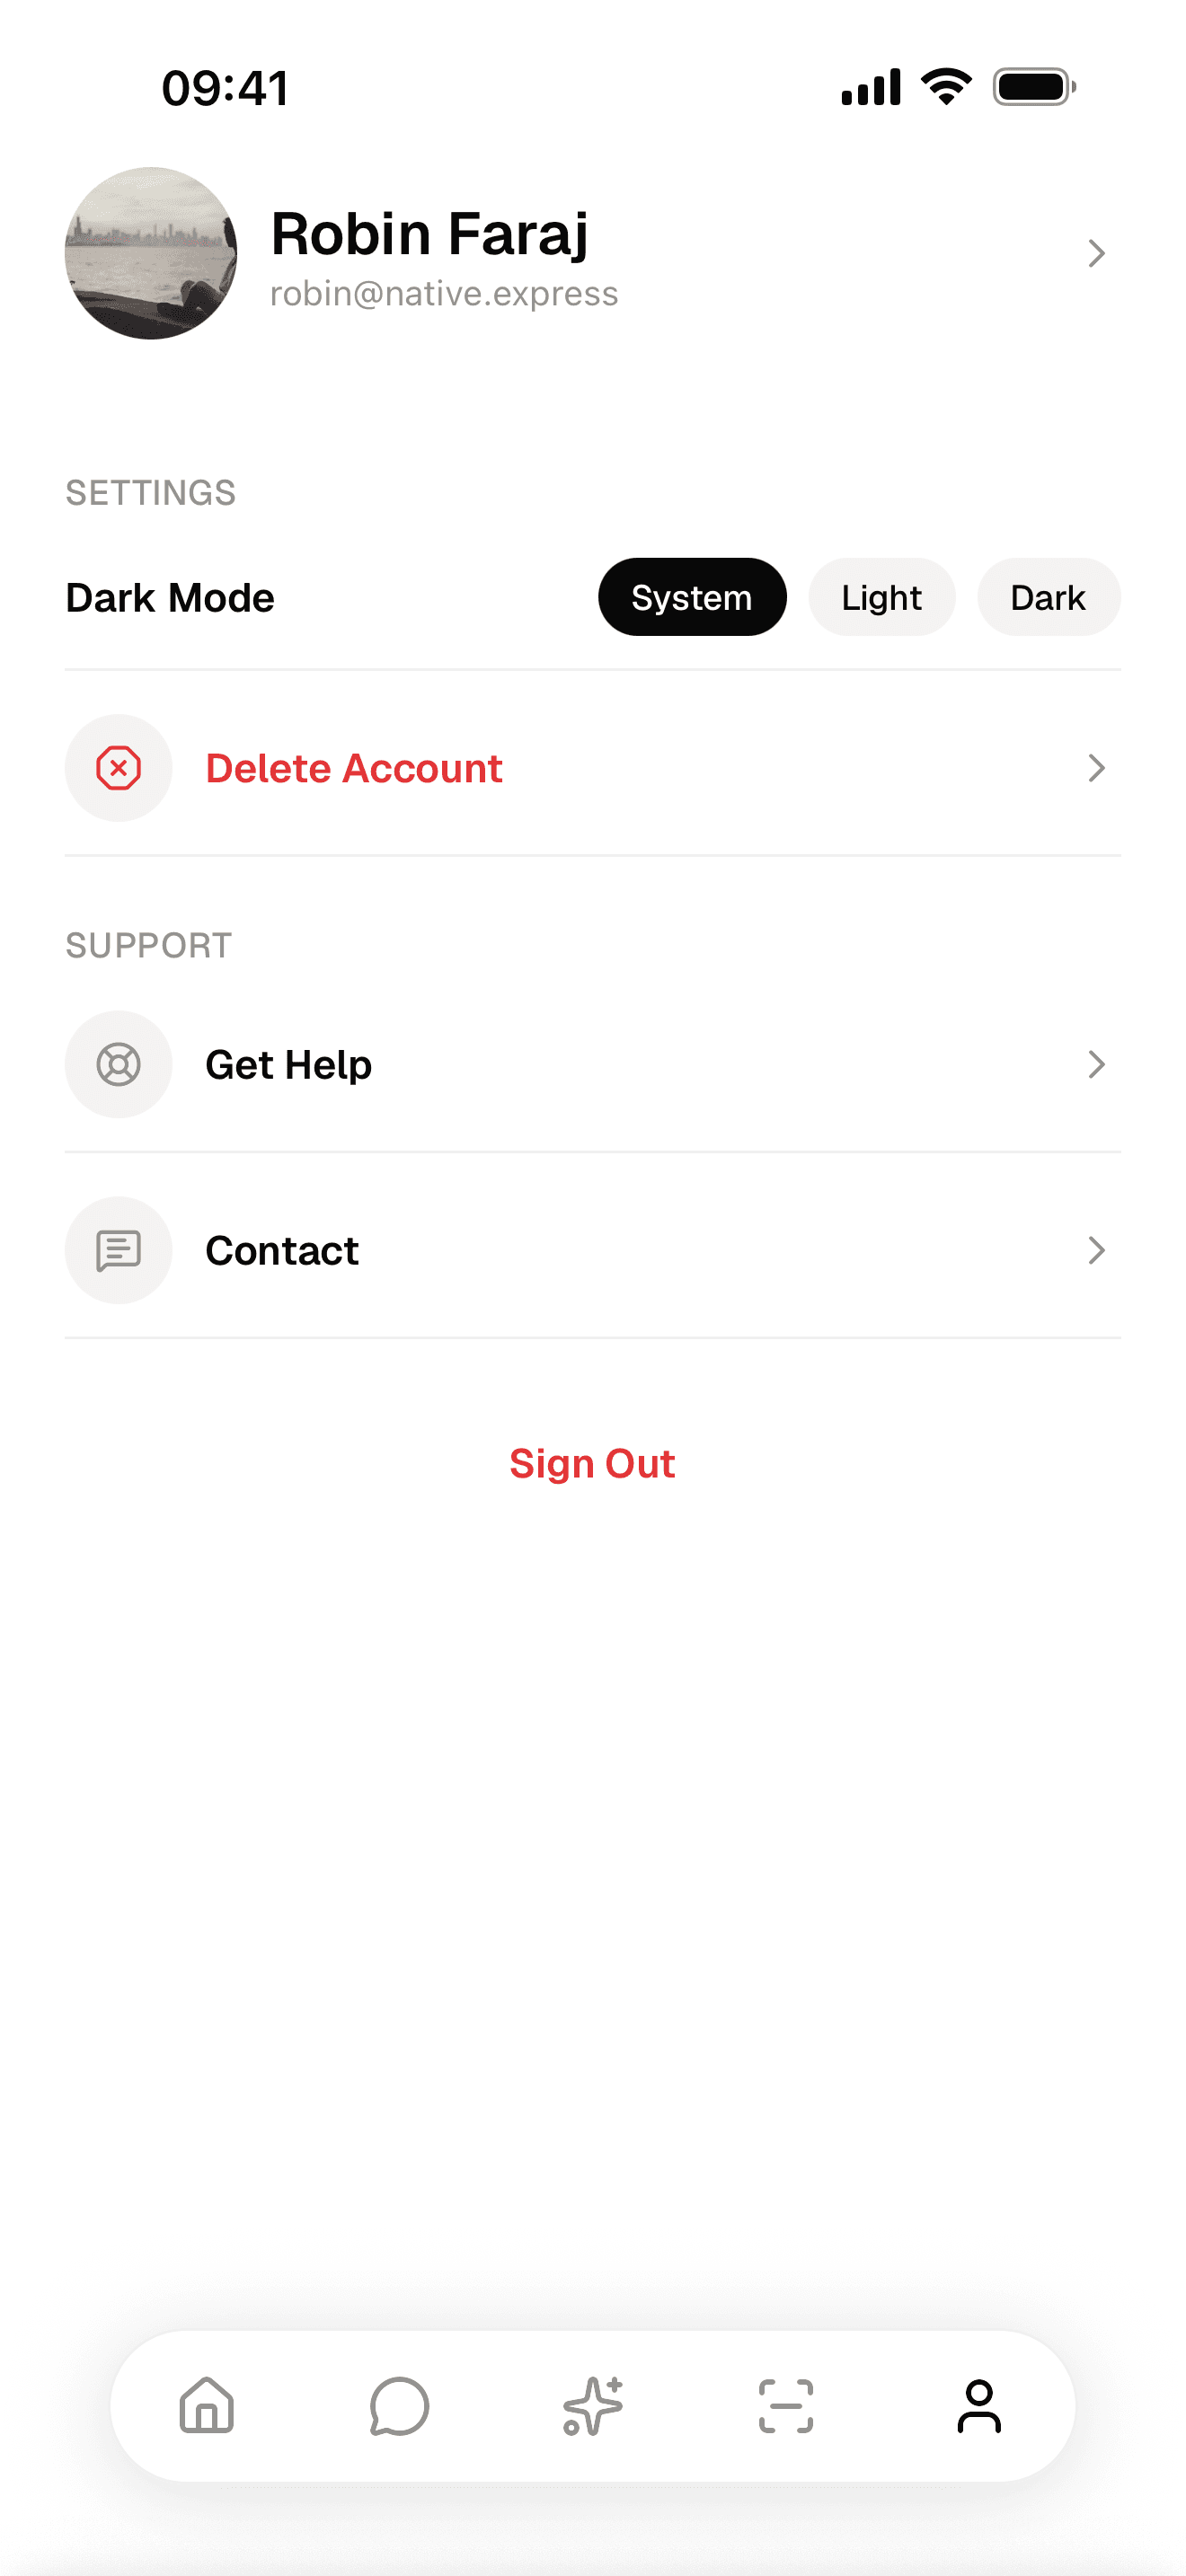
Profile and account management
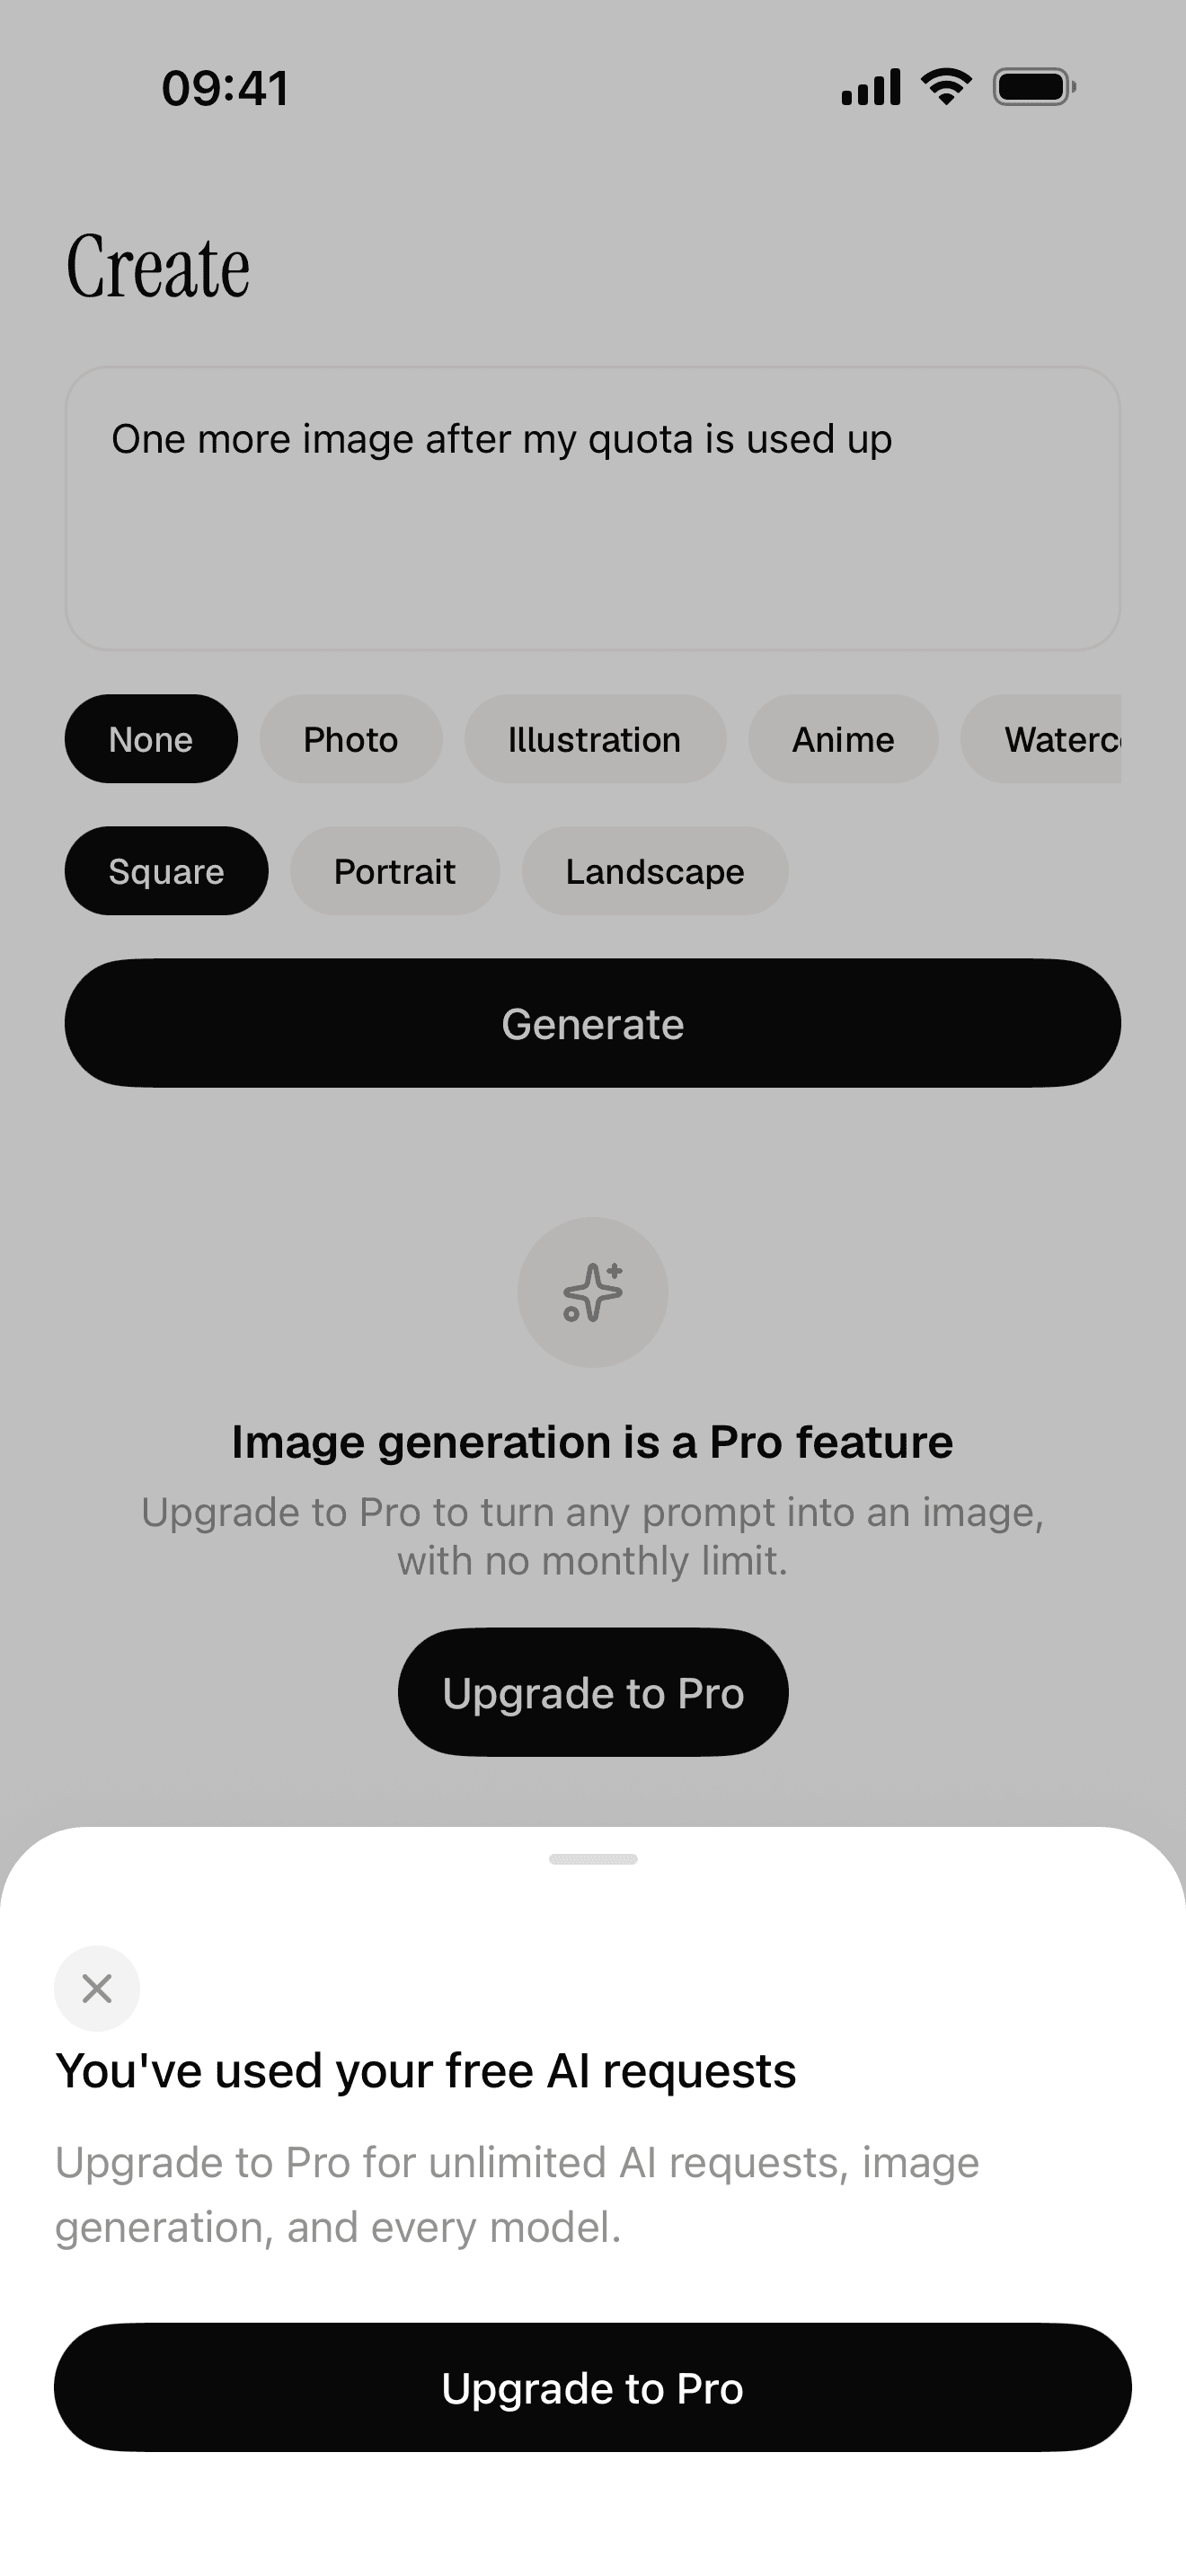
Free quota and a paywall the server decides
Step 4: Build and upload
Since April 28, 2026, uploads must be built with Xcode 26 or later against the iOS 26 SDK, and from September 9, 2026 the app must target iOS 13 or later. If you use current tools, you already comply.
With Xcode
Set the version and build number, choose Product, then Archive, and use the Organizer to distribute the archive to App Store Connect. This needs a Mac.
With Expo and EAS
If your app is built with Expo, EAS Build compiles the iOS binary in the cloud and EAS Submit uploads it. These are the commands from Expo's docs:
npm install --global eas-cli && eas login

# build a production binary for iOS
eas build --platform ios --profile production

# upload the latest build to App Store Connect
eas submit --platform ios

# or do both in one go
eas build --platform ios --auto-submit
Expo states that "EAS Submit works on macOS, Linux, and Windows, so you don't need a Mac to ship iOS builds." EAS will offer to create your certificates and provisioning profile on the first run. Say yes unless you have a reason not to. After upload, the build takes a few minutes to process before it appears in TestFlight.
If you are still choosing a setup, we compared the two routes in Expo or bare React Native.
Step 5: Test with TestFlight
TestFlight is Apple's beta app. Every build you upload lands there, and builds stay testable for 90 days.
| Internal testing | External testing | |
|---|---|---|
| Who | Up to 100 members of your App Store Connect team | Up to 10,000 people by email or public link |
| Review | None | First build goes to beta review |
| Use it for | Your own phone, a cofounder | Friends, early users, a waitlist |
Install the production build on a real iPhone and go through the whole app as a stranger would: sign up, sign out, delete the account, buy the subscription in the sandbox, restore it. Most first rejections are something that a ten-minute run like this would have caught.
Step 6: Submit for App Review
Pick the build on your version page, answer the export compliance question about encryption, fill in App Review Information and click Add for Review, then Submit.
How long does App Review take?
Apple's own figure: "On average, 90% of submissions are reviewed in less than 24 hours." First submissions and apps with payments sometimes take longer. If you have a critical bug fix or a dated event, you can request an expedited review.
The most common rejection reasons
These are the guidelines first apps run into most often, with what they actually mean.
| Guideline | What it says | How to avoid it |
|---|---|---|
| 2.1 App Completeness | No crashes, placeholders or broken links. Include a demo account "and turn on your back-end service!" | Test the production build. Put a working login in Review Information. |
| 4.2 Minimum Functionality | Must "elevate it beyond a repackaged website" | Do not ship a web view of your site. Use native features. |
| 5.1.1 Data Collection and Storage | Privacy policy in metadata and in the app, account deletion, only ask for data you need | Link the policy in settings, add deletion, justify every permission prompt. |
| 3.1.1 In-App Purchase | Unlocking features or content "must use in-app purchase" | No Stripe checkout for digital features inside the iOS app. |
| 2.3 Accurate Metadata | Screenshots and description must match the app | Use real screenshots of the current build. |
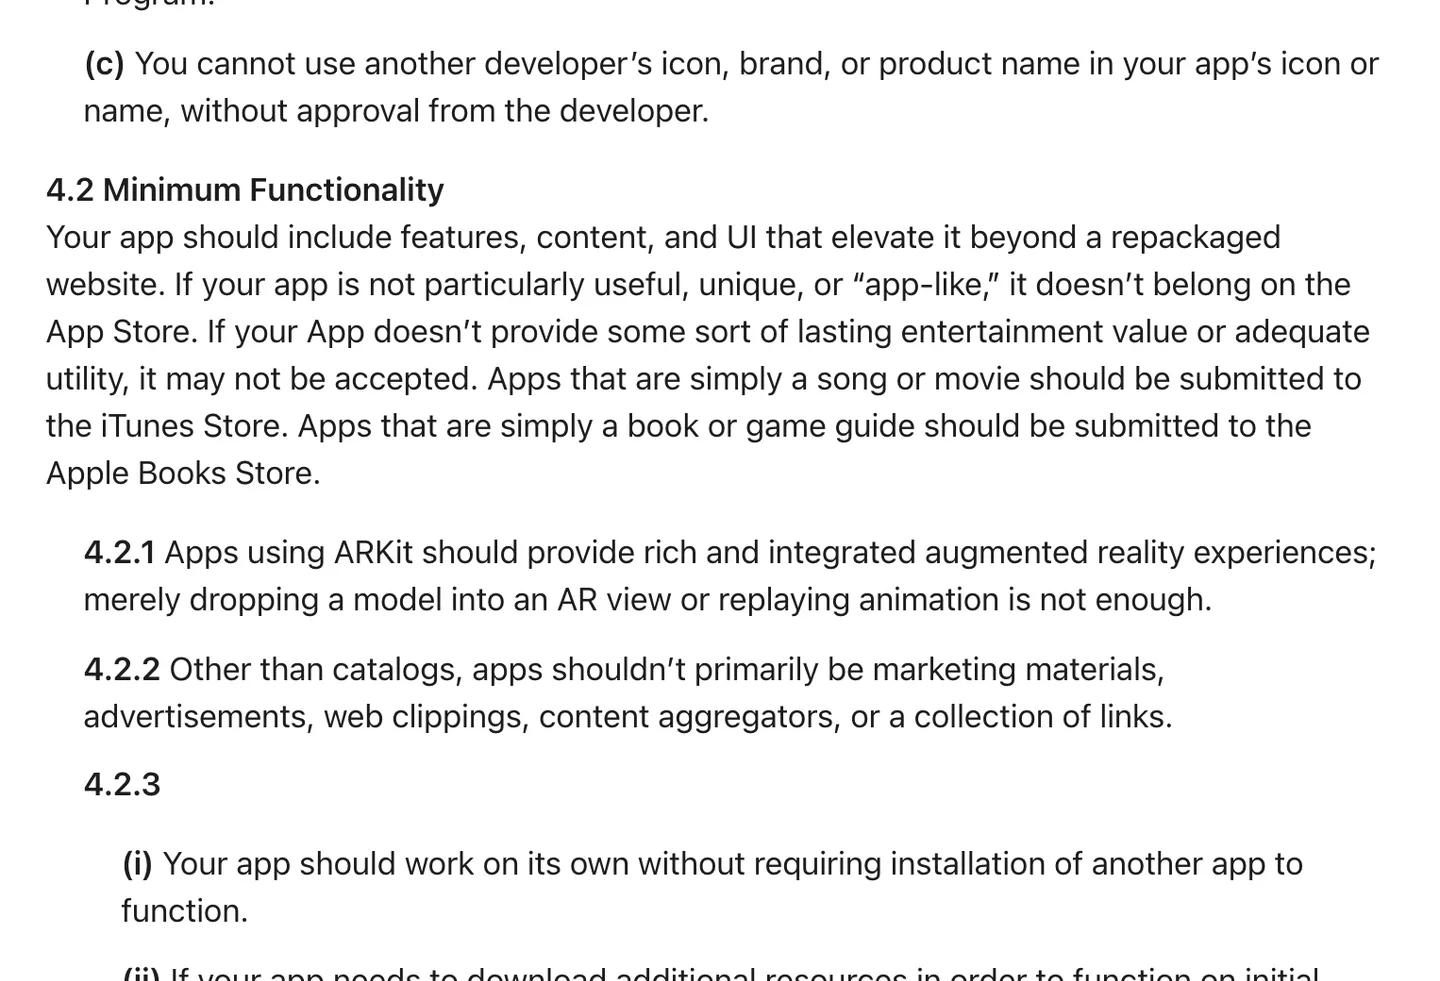
Guideline 4.2 in Apple's App Review Guidelines, the rule that rejects thin web wrappers. Source
If you are rejected
You will get a message in the App Review section of App Store Connect (older guides call this the Resolution Center) quoting the guideline and usually a screenshot. Read it twice. Then either fix the issue and resubmit, or reply in the same thread if the reviewer misunderstood something, with a short, polite explanation and steps to find the feature. If you still disagree, Apple allows one appeal per rejected submission to the App Review Board.
Step 7: Release
You choose the release option before you submit:
- Manually release this version. Approval puts it in Pending Developer Release and you press the button. Good for coordinating a launch.
- Automatically release this version. Goes live as soon as it is approved.
- Automatically release after a date. Live after approval, but not before the date you set.
After release it can take up to 24 hours to show in every storefront. For later updates there is also a phased release, which rolls the update out over 7 days (1%, 2%, 5%, 10%, 20%, 50%, 100%) to people with automatic updates on, and can be paused for up to 30 days in total. It applies to updates, not to your first version.
How to publish to the Google Play Store
The account
A Google Play developer account has a US$25 one-time registration fee, and Google may ask for a government ID and a card in your legal name. Like Apple, it offers personal and organization accounts.
The testing requirement for new personal accounts
This is the one that surprises people. If you created a personal account after November 13, 2023, you cannot go straight to production. You must first run a closed test with at least 12 testers who have been opted in continuously for at least 14 days, then apply for production access. The rule applies to personal accounts. If you have one, start recruiting testers the day you open the account, not the day you finish the app.
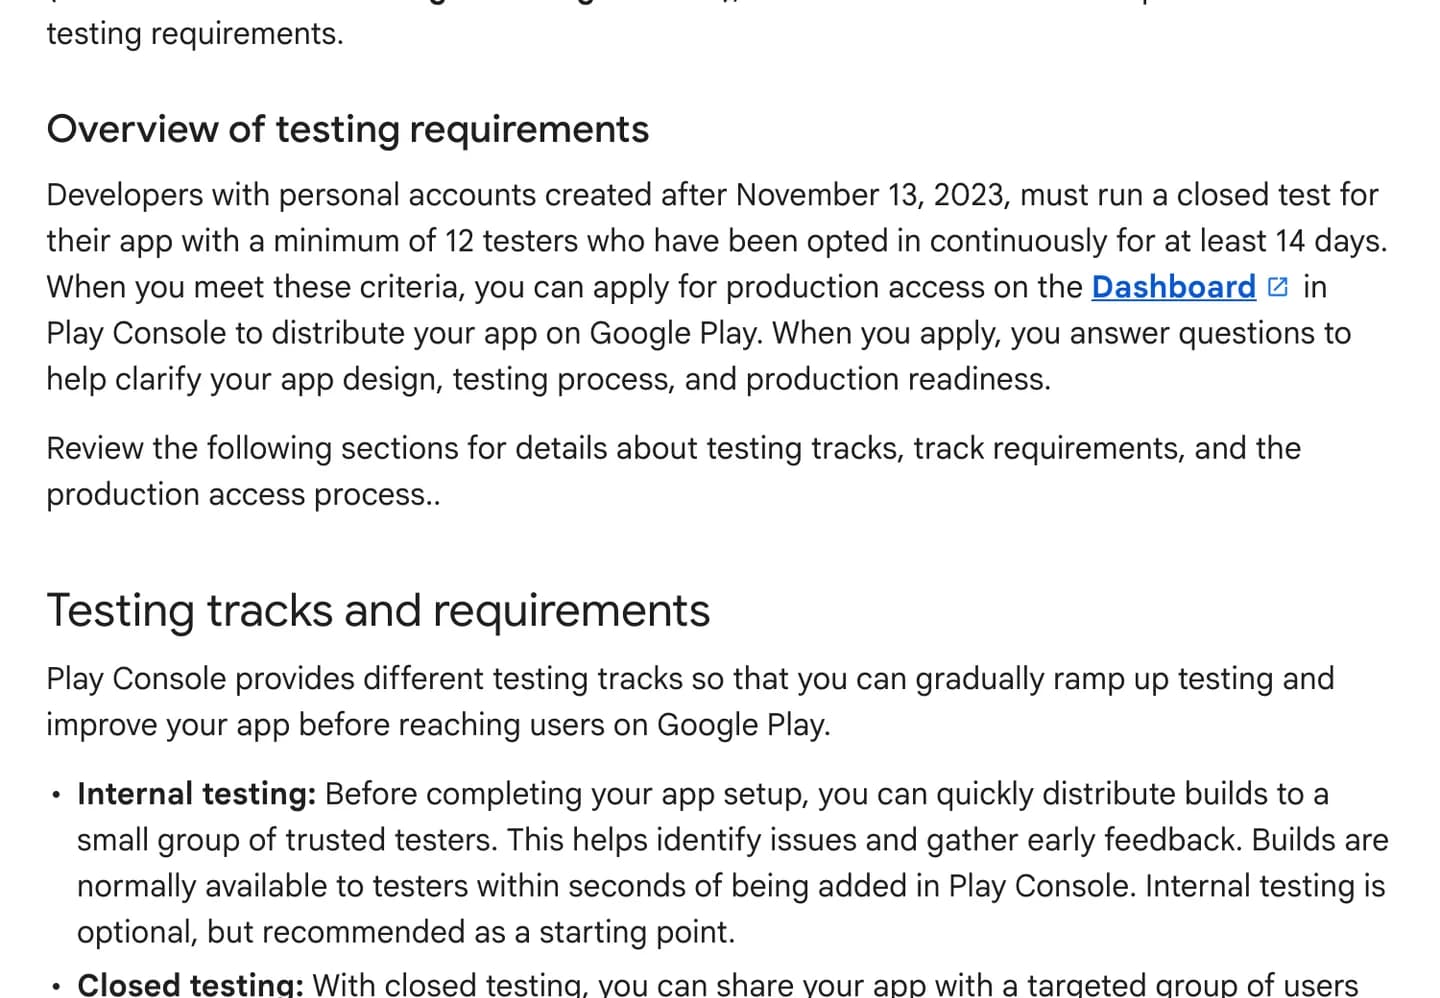
Google Play's testing requirement for personal accounts created after November 13, 2023. Source
Play Console steps
- Create the app in Play Console with its name, default language, and whether it is free or paid.
- Complete the App content section: privacy policy, ads declaration, content rating questionnaire, target audience, and the data safety form.
- Fill the store listing: a 512 x 512 icon, a 1024 x 500 feature graphic, at least two screenshots and a short description of up to 80 characters.
- Upload an Android App Bundle (
.aab) to the closed testing track. From August 31, 2026, new apps and updates must target Android 16 (API level 36). - Run the 14-day closed test, then apply for production and roll out.
The data safety form
Google's version of the privacy label. Every app on a closed, open or production track must complete it, and "even developers with apps that do not collect any user data must complete this form and provide a link to their privacy policy." As with Apple, SDKs count. If users can create an account, Google also requires an in-app way to delete it and a web link where they can request deletion, both declared in this form.
Google review time
Google says new apps from some accounts can take "up to seven days or longer in exceptional cases". Plan for a week on the first one.
With EAS
The Android commands mirror iOS, with one extra step: you upload a Google service account key to EAS so it can talk to Play Console. Some people prefer to do the very first upload by hand in Play Console and automate from the second release on.
eas build --platform android --profile production
eas submit --platform android
The whole checklist on one page
| Stage | Apple App Store | Google Play |
|---|---|---|
| Account | $99 per year, D-U-N-S for companies | $25 once, ID verification |
| Before release | Paid Apps Agreement, tax, banking if charging | Payments profile if charging |
| Listing | Name, description, keywords, 6.9" screenshots | Icon, feature graphic, 2+ screenshots |
| Privacy | Privacy policy URL, App Privacy label | Privacy policy, data safety form |
| Rating | Age rating questionnaire | Content rating questionnaire |
| Accounts | In-app deletion, private login option | In-app deletion plus a web deletion link |
| Testing | TestFlight, optional | 12 testers for 14 days (new personal accounts) |
| Review | 90% within 24 hours | Up to 7 days for new apps |
Where NativeExpress fits
NativeExpress ships with what App Review checks for already in the code: Google and Apple sign-in, email and password, and account deletion that includes the user's uploads. Payments go through RevenueCat, which uses in-app purchase on iOS. On the shipping side it includes development, preview and production EAS build profiles, an App Store Connect API key route, screenshots sized for both stores and generated from a Maestro flow, a first-release checklist, an every-release checklist and a store listing playbook. If you use Claude Code, the store-assets and submit skills walk through the same steps with you.
It does not publish for you. Your Apple and Google accounts, your listing, your privacy answers and the review itself stay yours.
For the first time, I felt like I was actually going to make it to the App Store with my idea.
 Ilya LibinShipped his first app
You can see apps that went through this exact process on the shipped apps page, or read what is included on the Expo starter page. If you have not built the app yet, start with how to make an iPhone app, and if you are wondering about the full budget, see how much it costs to make an app.
FAQ
How much does it cost to publish an app on the App Store?
The Apple Developer Program costs $99 a year, and you need it to publish anything. Google Play is a $25 one-time fee. On top of that, Apple and Google take a commission on paid apps and in-app purchases, and your build service and backend may have their own plans, though many have free tiers.
Is it free to publish an app on the App Store?
No. There is no free way to list an app on the App Store; the $99 annual membership is required. Apple does offer fee waivers for eligible nonprofits, accredited educational institutions and government entities. Free apps themselves cost nothing extra to list.
How hard is it to get an app published on the App Store?
Not hard if the app is finished and you follow the checklist. Rejections are common for first apps, but they are usually about a missing demo account, a broken link, a missing account deletion option or an inaccurate privacy label, and they are fixed and resubmitted in a day. Apps that are thin wrappers around a website have a real problem under guideline 4.2.
How long does an App Store submission take?
Apple says 90% of submissions are reviewed in less than 24 hours. Add the time before that: enrollment (a day or two as an individual, longer for a company), building the listing, and a round of TestFlight. For a first app, a week from enrollment to live is realistic if the app is ready.
Do I need a Mac to publish an iOS app?
Not if you use Expo. EAS Build compiles the iOS app in the cloud and EAS Submit uploads it from macOS, Linux or Windows. You still need an iPhone to test on, and you need a Mac if you build natively with Xcode.
Do I need an LLC to publish an app?
No. You can enroll as an individual, and your legal name appears as the seller on the App Store. An organization account needs a registered legal entity and a D-U-N-S number, and shows the company name instead. Whether forming a company makes sense for liability or tax reasons depends on where you live, so ask an accountant or lawyer; this is not legal advice.