
How to Make an iPhone App in 2026 (Without Learning Swift)

To make an iPhone app in 2026, pick a framework (Swift in Xcode, or React Native with Expo), start from a project that already runs, build features with a coding agent, test on your own iPhone with a development build, send it to testers through TestFlight, then submit it for App Review. You need a $99 a year Apple Developer membership. You do not need a Mac.
That is the whole path. The rest of this guide is the detail: which route fits you, what each step actually involves, what it costs, and the mistakes that get first apps rejected.
The three ways to build an iPhone app
There are three real routes, and the right one depends less on the app than on you.
| Swift and SwiftUI in Xcode | React Native with Expo | No-code and AI app builders | |
|---|---|---|---|
| What you write | Swift | TypeScript (React) | Prompts, visual editors |
| Platforms | Apple only | iOS and Android from one codebase | Varies by tool |
| Needs a Mac | Yes (or an iPad with Swift Playgrounds) | No, cloud builds work from Windows or Linux | Usually no |
| Who owns the code | You | You | Varies, often the platform |
| Best for | Apple-only apps, deep platform features, learning iOS properly | Most first apps, web developers, anyone using a coding agent | Prototypes, internal tools, testing demand |
Swift and SwiftUI in Xcode
Apple's own route. Xcode runs only on a Mac (the one exception, Swift Playgrounds on iPad, can upload small apps to App Store Connect). You get new Apple features first and no layer between you and the platform.
The cost: it is Apple only, so Android means building the app again in Kotlin, and the learning curve is the steepest if you have never written Swift. Pick it if you want to become an iOS developer, or your app depends on widgets, watchOS or deep HealthKit work from day one.
React Native with Expo
React Native renders real native iOS views from TypeScript and React. Expo is the framework on top: libraries, a dev server, and a cloud build service (EAS) that compiles your iPhone app on Apple hardware you never have to own. React Native's own docs say that for a new app, "we recommend using a Framework", and Expo is the one they point to.
One codebase gives you iOS and Android, and web developers will find most of it familiar. More in Expo or bare React Native.
No-code and AI app builders
You describe the app or drag screens together and the platform produces it. They are genuinely good for a prototype by this afternoon. The trade-offs are where the code lives, what happens when you outgrow the builder, and whether the output is a native app or a wrapped web view, which App Review is wary of. We compare them in the best mobile app builders and can Lovable make mobile apps.
Why React Native, Expo and a coding agent is the fastest first route
Coding agents are good at it. There is an enormous amount of public React and TypeScript code, and in our experience Claude Code, Cursor and Codex write React Native more reliably than Swift for everyday app work. You describe the screen, the agent writes it, you look at it on your phone.
You see changes instantly. The Expo dev server reloads your app on save. That feedback loop is what lets a non-specialist steer an agent: you do not have to read every line to know whether the screen is right.
You never fight a Mac. EAS builds the iOS binary in the cloud and EAS Submit uploads it. The Expo docs are explicit that it "works on macOS, Linux, and Windows, so you don't need a Mac to ship iOS builds."
What you need before you start
- A computer. Mac, Windows or Linux, with Node.js installed.
- An iPhone. You will test on it constantly. The iOS Simulator only runs on a Mac, so on Windows your phone is your test device.
- A free Expo account. The free plan includes 15 iOS builds a month, which is plenty for a first app. Paid plans start at $19 a month if you need more.
- An Apple Developer Program membership. $99 USD per membership year, prices vary by region. You need it for development builds on a device, TestFlight and the App Store. You can start building without it and enroll when you reach step 5.
- A coding agent. Claude Code, Cursor, Codex or similar.
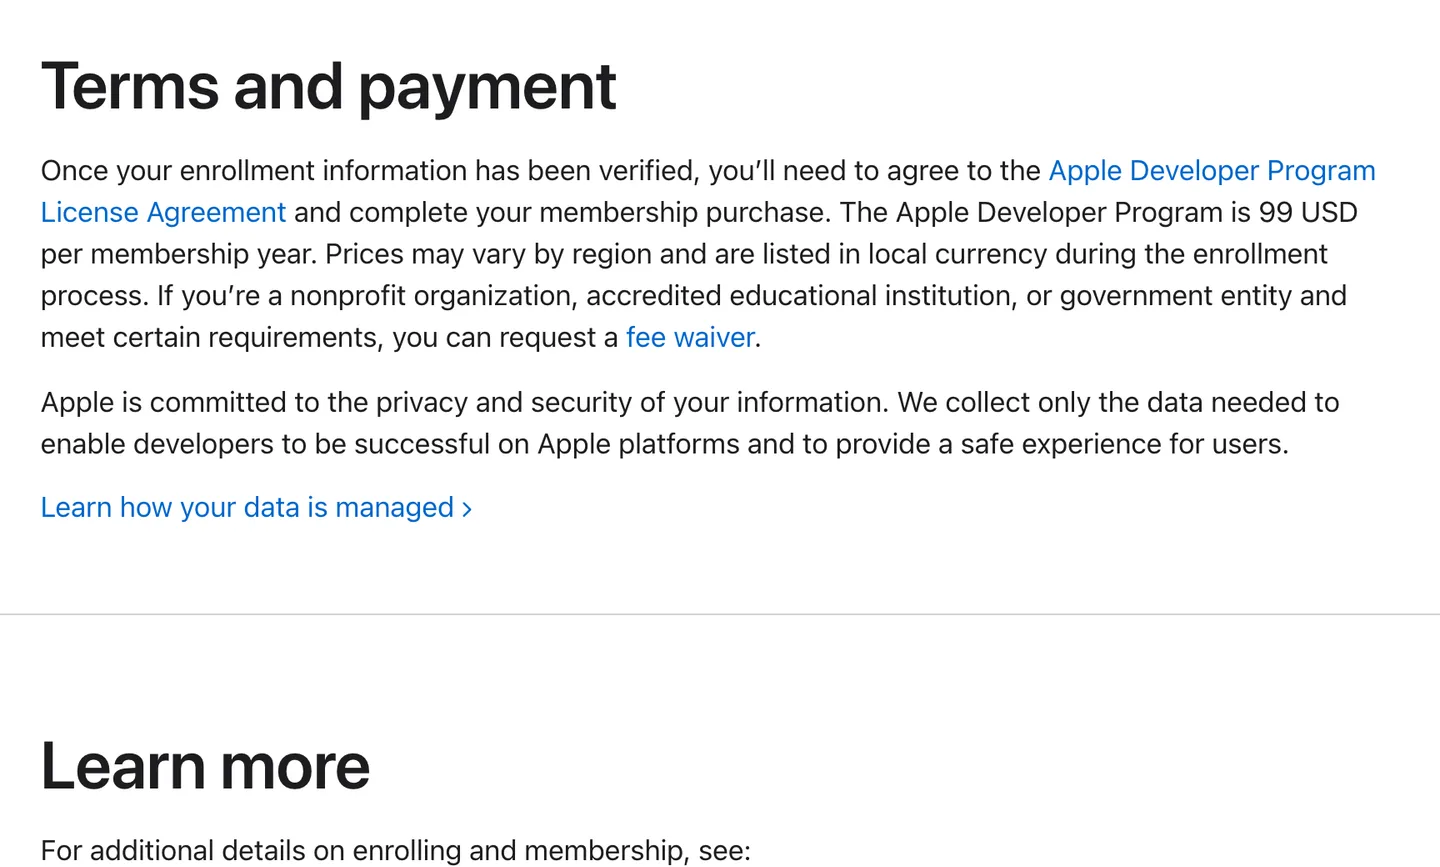
Apple's enrollment page: 99 USD per membership year, with fee waivers for eligible nonprofits and schools. Source
Enroll a little early. Apple verifies your identity, and if you enroll as a company you first need a D-U-N-S number, which Apple says can take up to 5 business days from Dun & Bradstreet plus up to 2 more to reach Apple.
How to make an iPhone app, step by step
1. Decide what the app does, and cut it in half
Write one sentence: who it is for and the one thing it does for them. A first app that ships usually has onboarding, sign-in, one core screen, a paywall if you charge, and settings. Everything else goes on a list for version 1.1. First apps rarely die in review. They die in month four, building features nobody asked for.
2. Set up your tools
Install Node.js, then create an Expo project and start the dev server. These are the commands from the Expo docs:
npx create-expo-app@latest my-app
cd my-app
npx expo start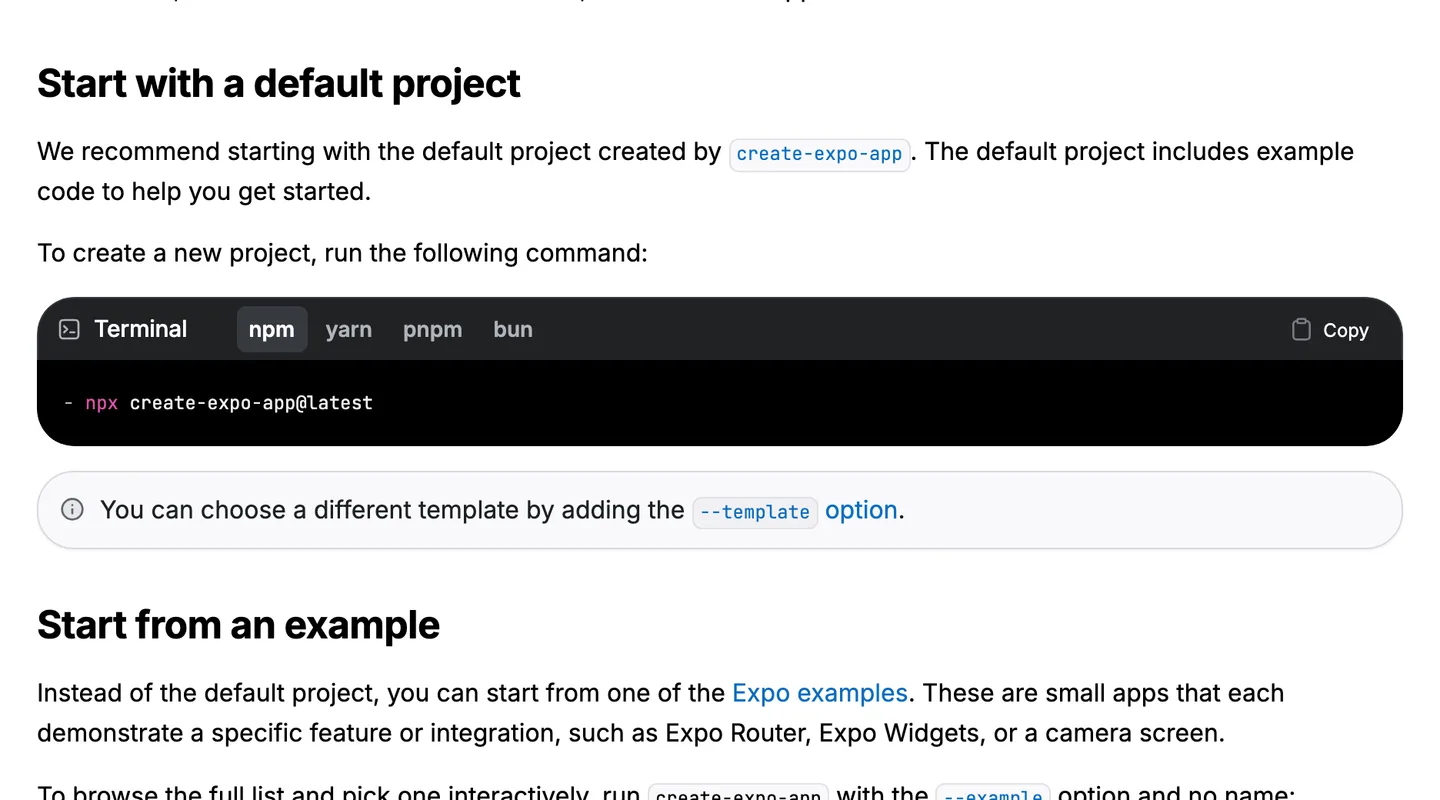
Expo's getting started guide: one command creates a project that runs on iOS and Android. Source
Scan the QR code with the Expo Go app on your iPhone and the app opens. On a physical iPhone, Expo Go and the CLI must be signed in to the same Expo account, so run npx expo login first.
3. Start from an app that already runs
A blank template is a fine place to learn and a slow place to ship. Your idea's screens are a small part of a real app. The rest is sign-in with Apple and Google, sessions, a paywall, restore purchases, a database with sensible permissions, push, account deletion and a store build setup. Every piece has edge cases you only meet in production. Start from a project where they already work and your agent spends its time on your idea.
This is what we built NativeExpress for. It is a React Native and Expo app you clone and own, with those pieces finished, and skills that tell your coding agent how the code is laid out before it writes anything. These are screens from the demo app you get on the first clone:
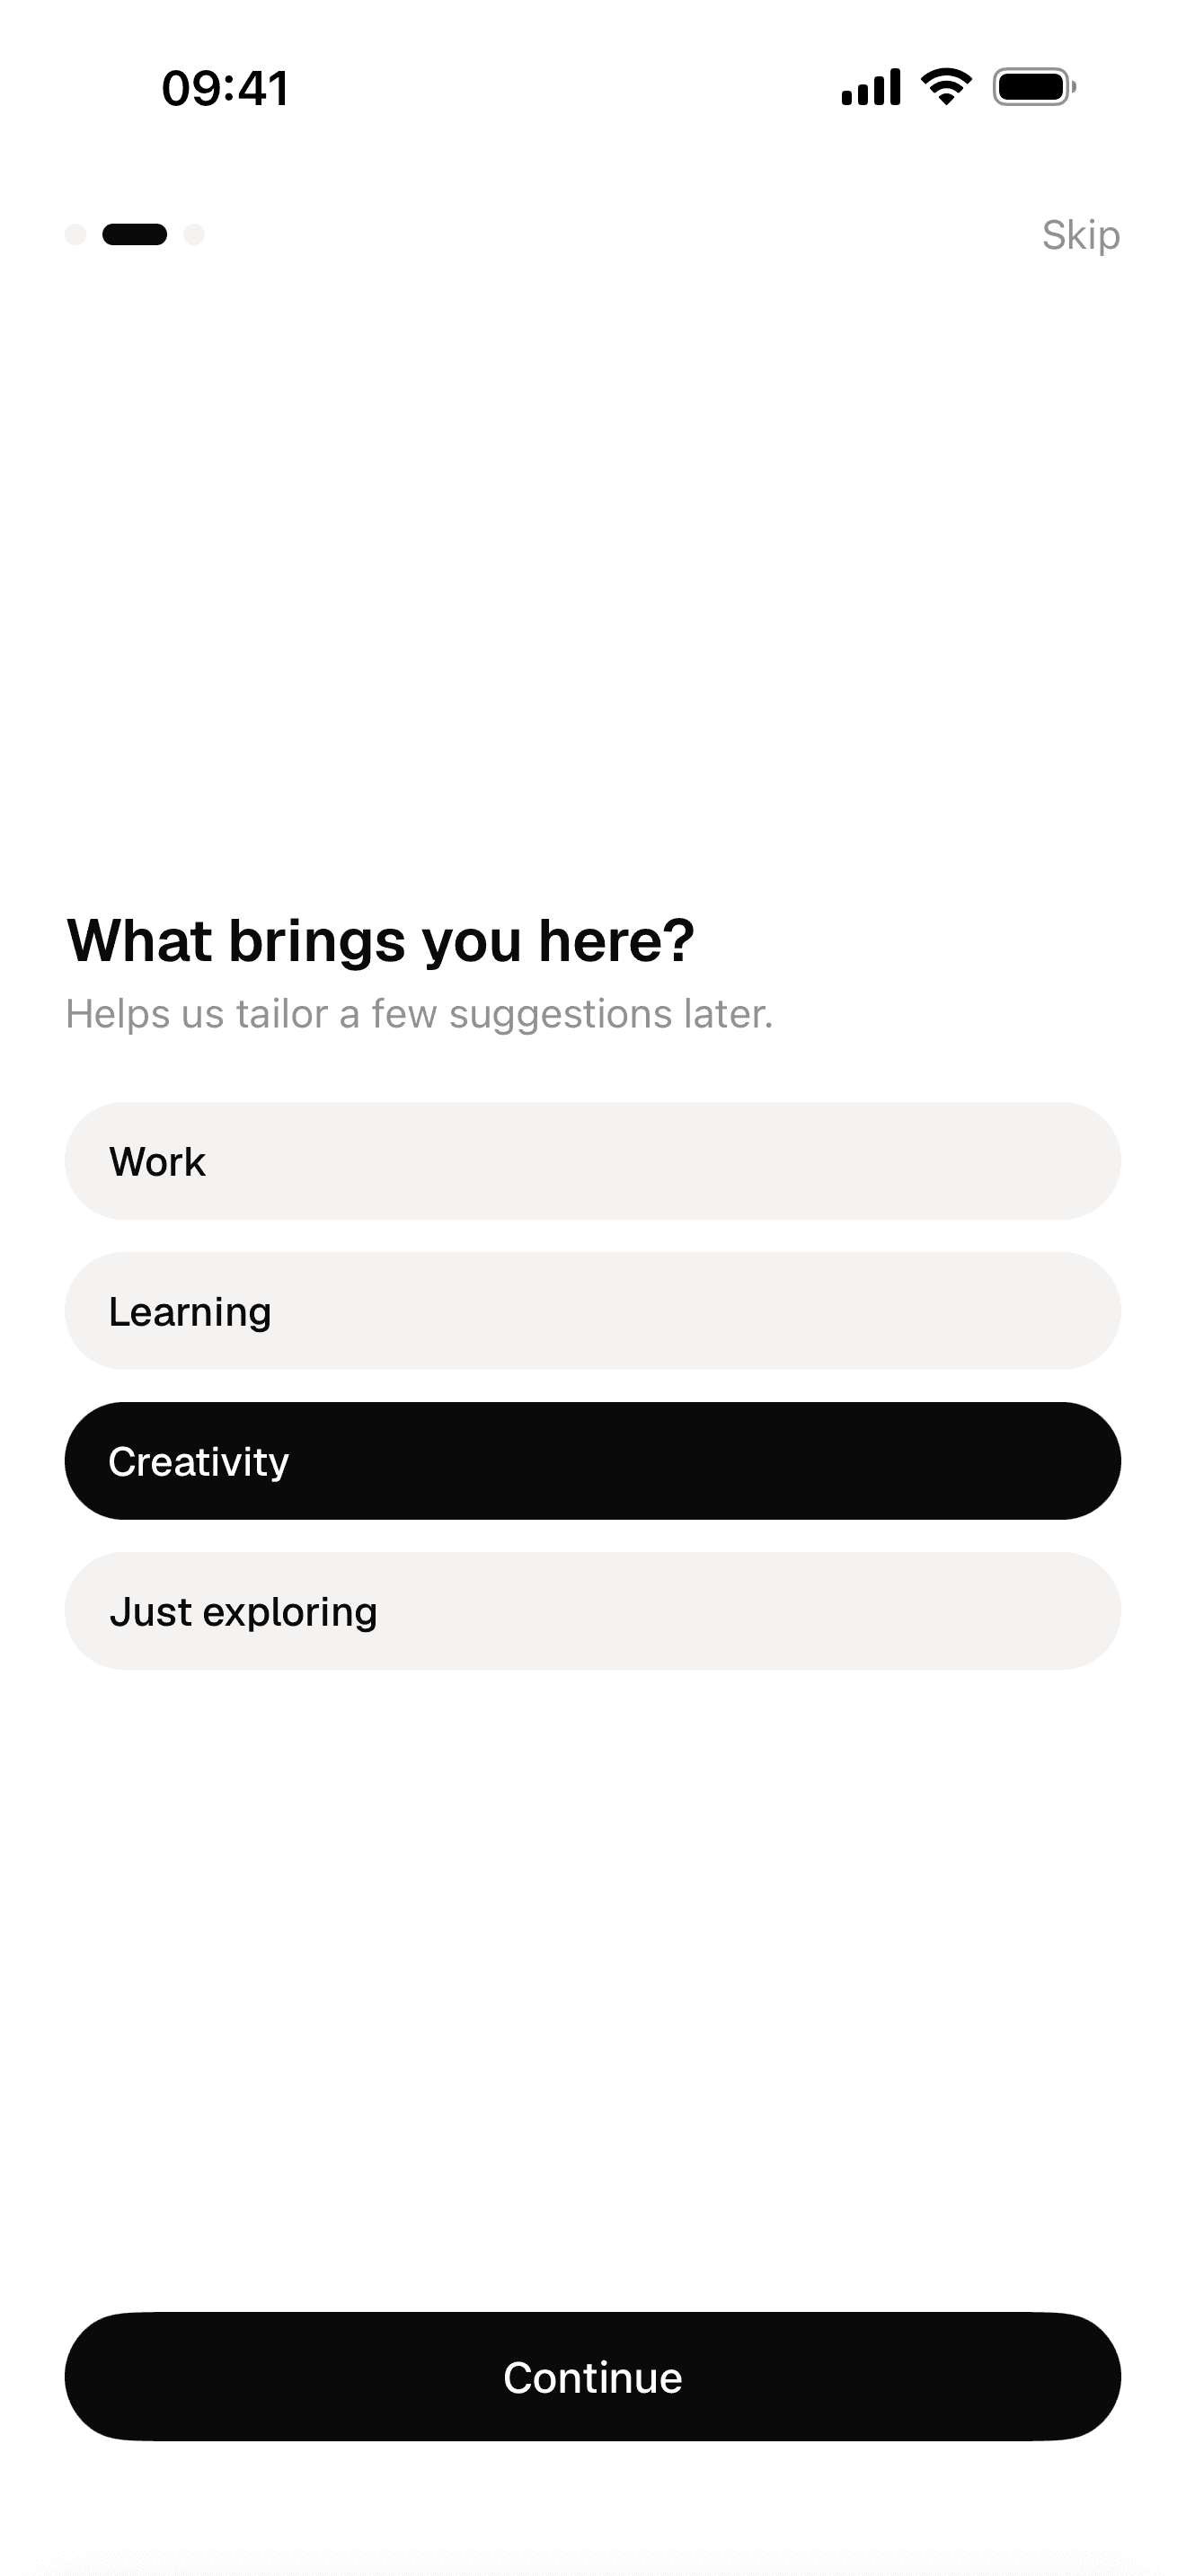
Onboarding
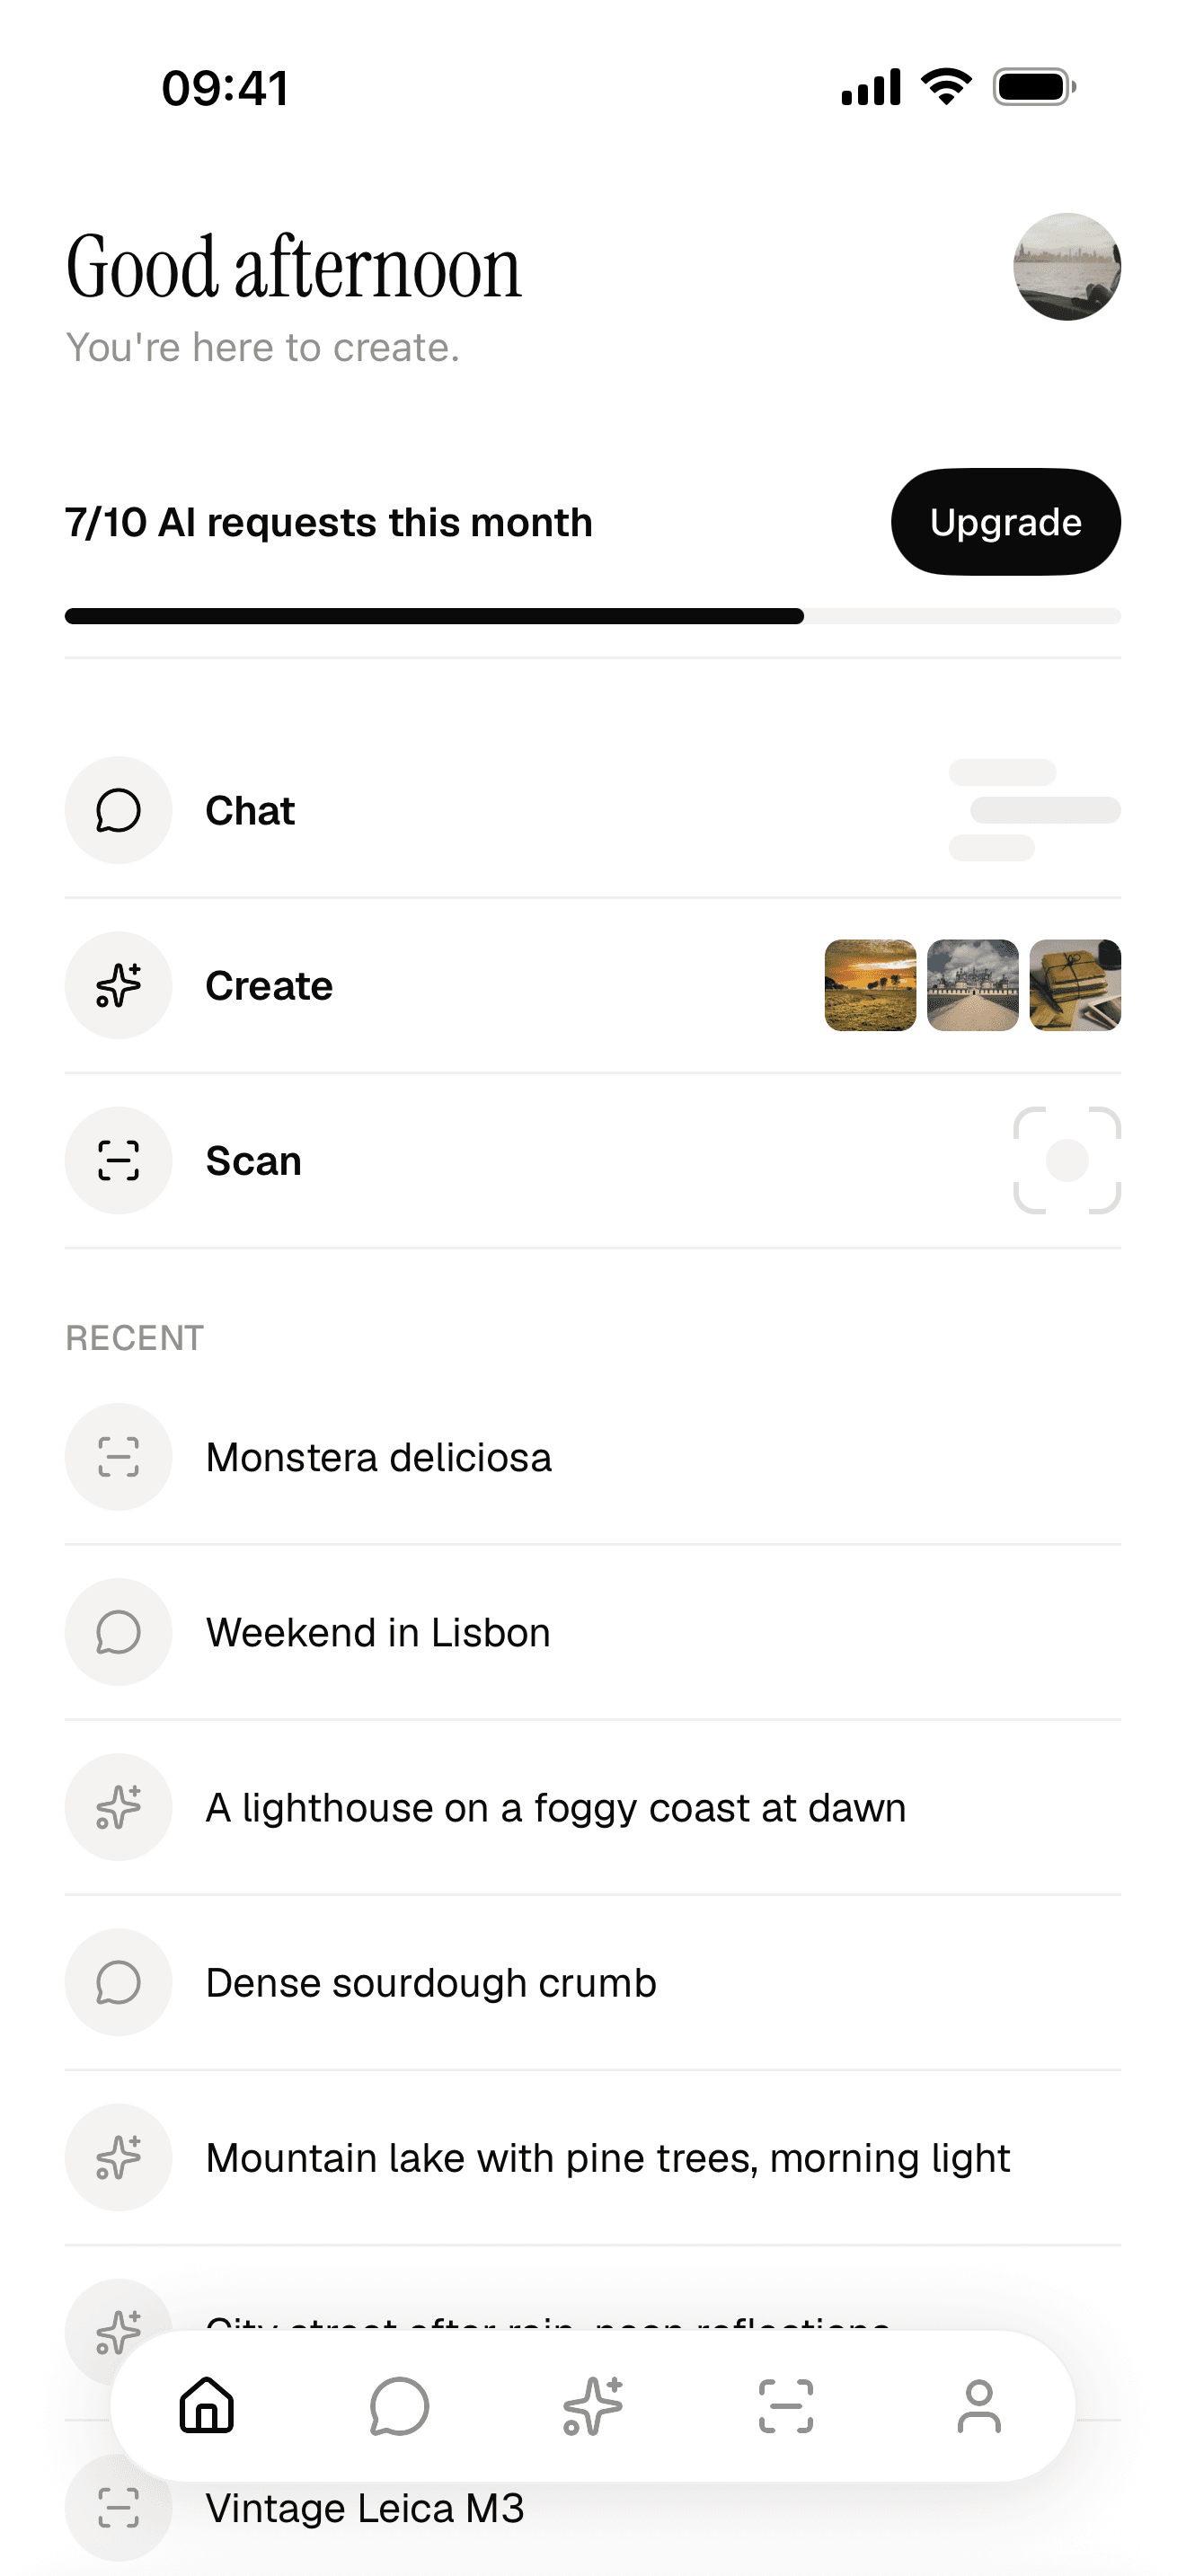
Home, ready for your features
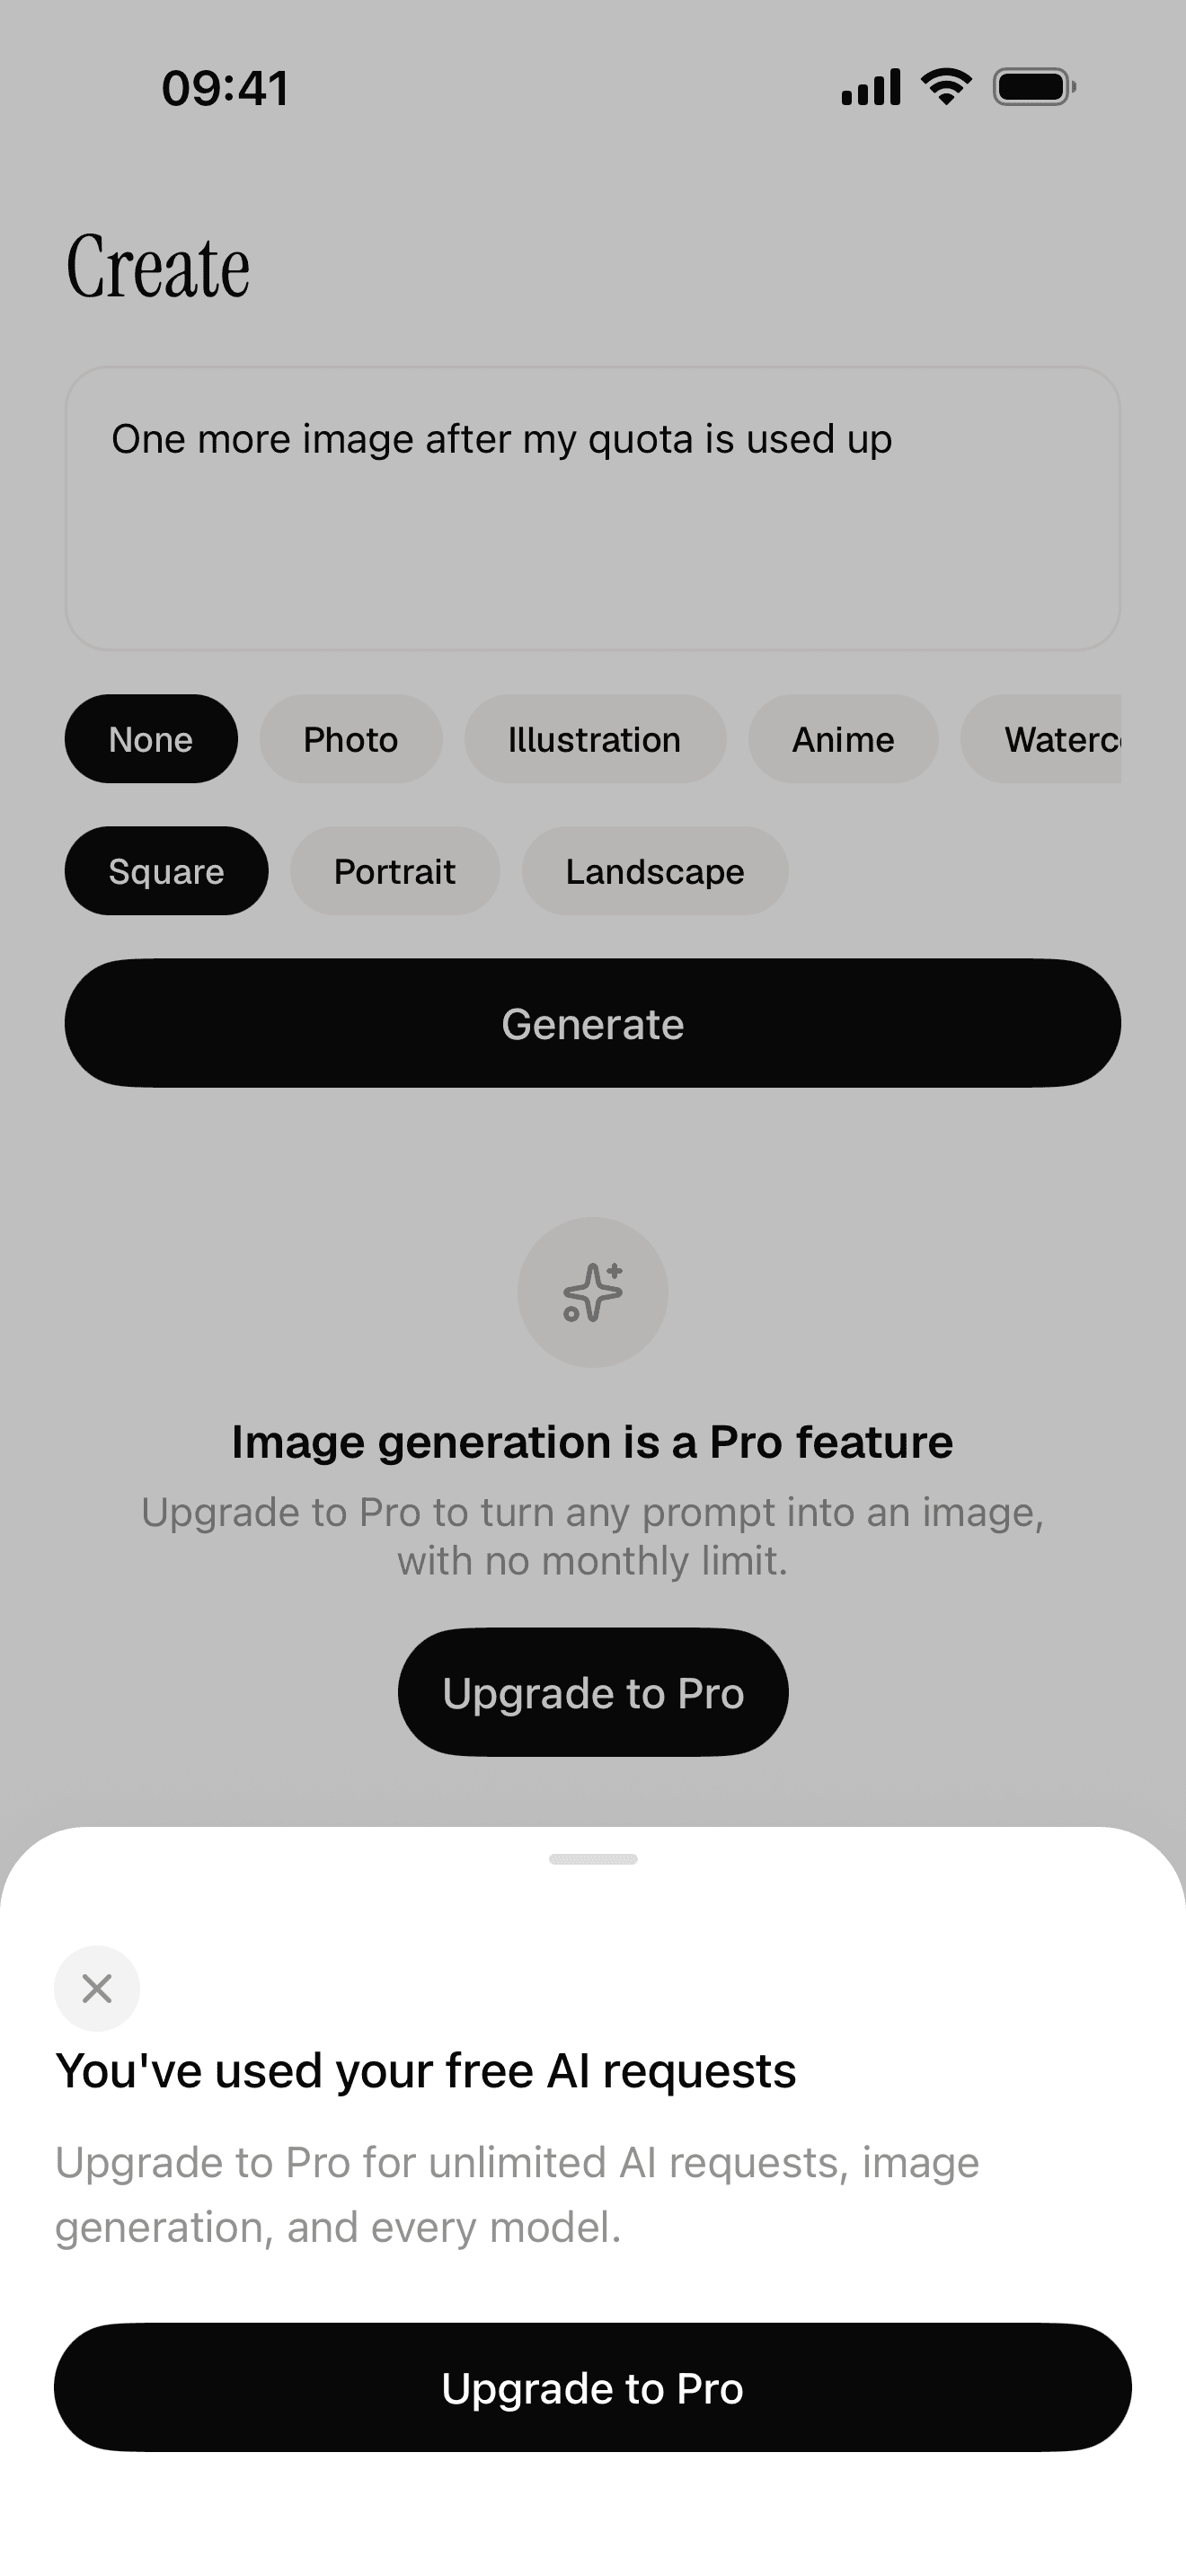
Free quota and a paywall the server decides
You do not need our kit to follow this guide; Expo's default template runs too. Just decide consciously how much plumbing you want to build yourself.
4. Build your features with your coding agent
Work in small, checkable steps. One screen or one behavior per prompt, then look at it on your phone before asking for the next.
A few habits that make agents much better at this:
- Give the agent a short product brief in the repo: who the app is for, the core screen, the tone. Agents read it on every task.
- Ask for the data model before the screens. A wrong table is expensive later.
- When something breaks, paste the actual error, not a description of it.
- Commit after every working step, so a bad change costs you one
git revert.
The agent writes most of the code; you make decisions and test. That is not "no coding needed": you will read errors, sign in to services and sometimes tell the agent it is wrong.
5. Test on your phone with a development build
Expo Go is the throwaway option for the first hour. It ships a fixed set of native modules, so as soon as you add a native library it does not include, it can no longer run your app properly. A development build is your own app binary, with your native code compiled in, that still reloads on save.
Building one for a physical iPhone needs the paid Apple membership. In the Expo docs' words, "all builds that run on an iPhone device require a paid Apple Developer account for build signing." The commands:
npm install --global eas-cli
eas login
eas build:configure
eas device:create
eas build --platform ios --profile development
eas device:create registers your iPhone for the build. EAS compiles it in the cloud and gives you a link to install it.
6. Add sign-in and payments
If users have accounts, three App Review rules apply from the start:
- If you offer Google or another third-party login as the main way to sign up, guideline 4.8 requires an equivalent option that limits data to name and email and lets users keep their email private. Sign in with Apple is the usual answer.
- If you allow account creation, guideline 5.1.1(v) says you "must also offer account deletion within the app."
- If you sell digital features or content, guideline 3.1.1 requires Apple's in-app purchase, with a way to restore purchases.
For subscriptions, RevenueCat on top of Apple's StoreKit is a common choice in React Native, and you create the products in App Store Connect. Decide what is free and what is paid before you build the paywall, and check entitlements on the server rather than trusting the phone. We go deeper on pricing models in how to make money with an app.
7. Send it to TestFlight
When the app works on your phone, make a production build and upload it:
eas build --platform ios --profile production
eas submit --platform ios
Expo says the build appears in TestFlight after processing, usually 10 to 15 minutes. TestFlight lets you invite up to 100 internal testers from your team and up to 10,000 external testers. External testing needs your first build approved by App Review for TestFlight, and each build stays testable for up to 90 days.
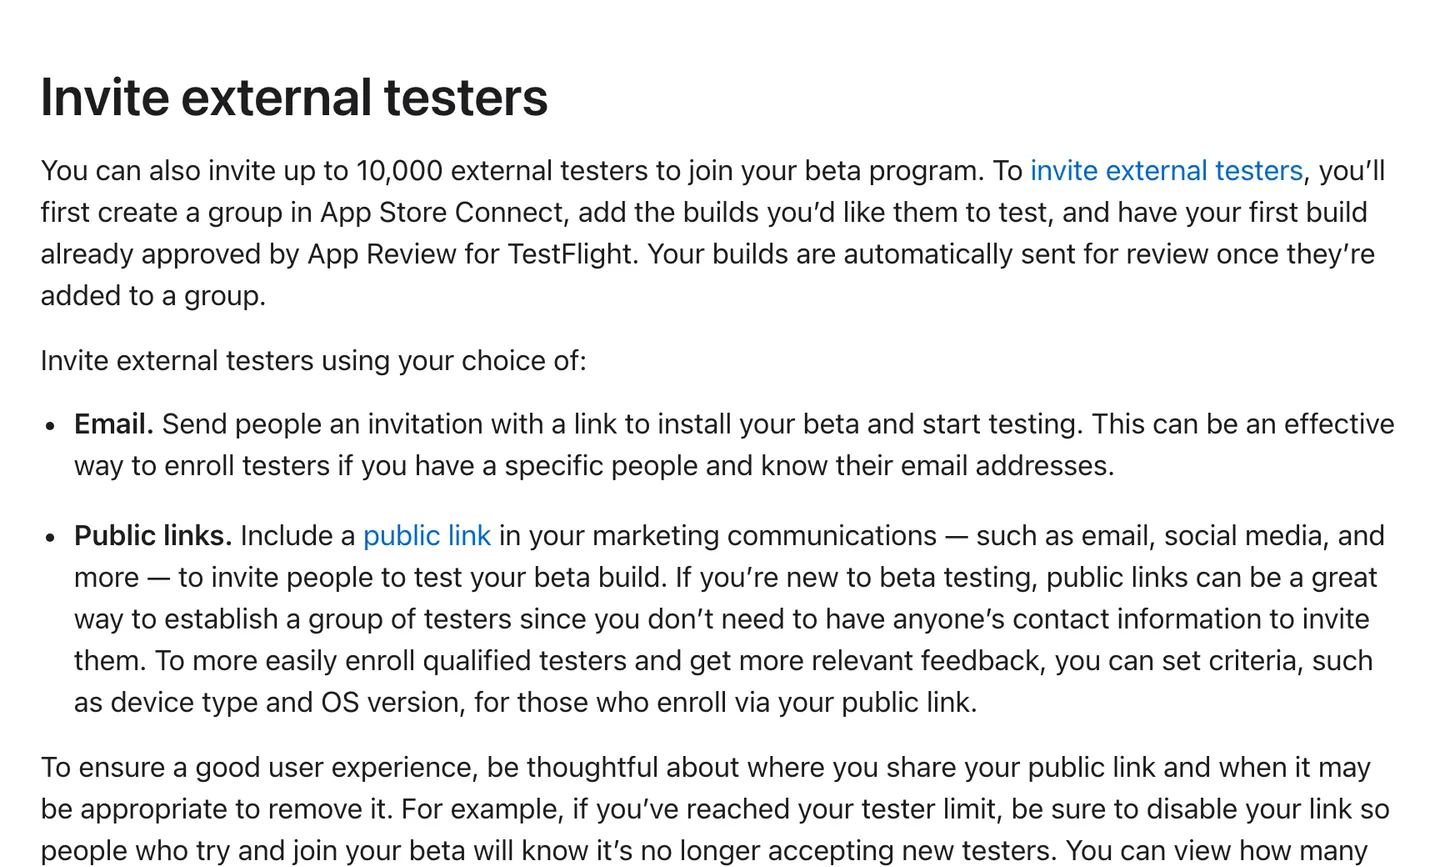
Apple's TestFlight page: up to 10,000 external testers once your first build passes beta review. Source
Give it to five people who are not you, and watch one use it without helping. Ten minutes of that beats a week of testing alone.
8. Submit and get through App Review
In App Store Connect you add screenshots, a description, a privacy policy URL, a support URL, the privacy "nutrition label" answers and an age rating, then pick the build and submit. Apple says that on average, 90% of submissions are reviewed in less than 24 hours.
Your store account and the review are yours: nobody can submit for you without your account. We walk through the listing and submission screen by screen in how to publish an app on the App Store.
Common first-app mistakes and App Review rejections
Apple publishes its own list of what goes wrong, and the headline is blunt: over 40% of unresolved issues relate to guideline 2.1, App Completeness. In practice, the rejections we see on first apps are these:
- Crashes, broken links and placeholder text (2.1). Lorem ipsum on a settings screen, a dead "Terms" link, a button that does nothing.
- No demo account. If the app needs a login, give the reviewer working credentials in App Review Information. A reviewer who cannot get in will reject.
- A repackaged website (4.2). Apple wants features "that elevate it beyond a repackaged website." A web view of your site is the classic rejection.
- Screenshots that do not match the app (2.3). Screenshots must show the app in use, not a splash screen or a mockup of features that do not exist.
- A missing or vague privacy policy (5.1.1). It must be linked in App Store Connect and inside the app, and say what you collect and how users request deletion.
- Paying outside in-app purchase (3.1.1) for digital features.
One technical requirement trips people building in Xcode by hand: since April 28, 2026, uploads must be built with Xcode 26 or later and the iOS 26 SDK. EAS keeps its build images current, so with Expo you mostly get this by staying on a supported SDK.
A rejection is not a ban. You get a message citing the guideline, fix it and resubmit.
A realistic timeline for a first iPhone app
This is our honest estimate for one person working evenings and weekends with a coding agent, on a focused app with one core feature:
| Stage | Time |
|---|---|
| Idea, scope and screen list | A few days |
| Tooling setup, first run on your phone | One evening to a weekend |
| Core feature built and working | 2 to 6 weeks |
| Sign-in, payments, polish | 1 to 3 weeks (days if you start from a kit that has them) |
| TestFlight with real testers | 1 to 2 weeks |
| Store listing, review, fixes | A few days to a week |
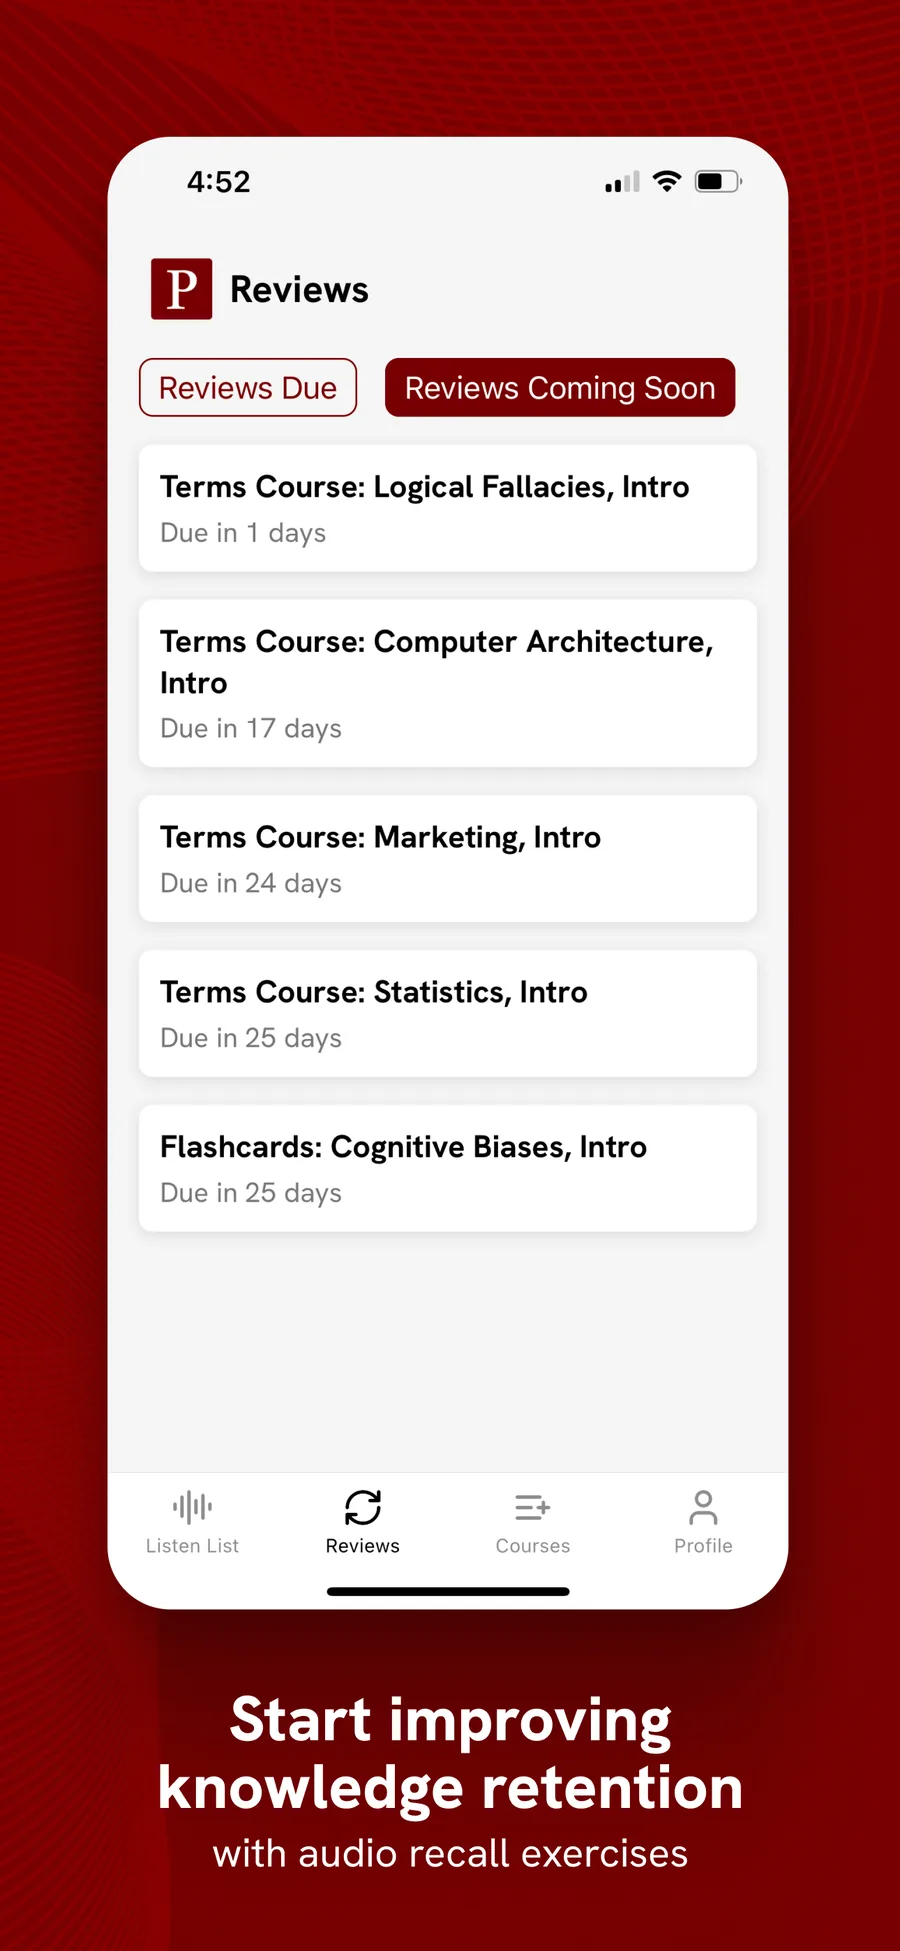
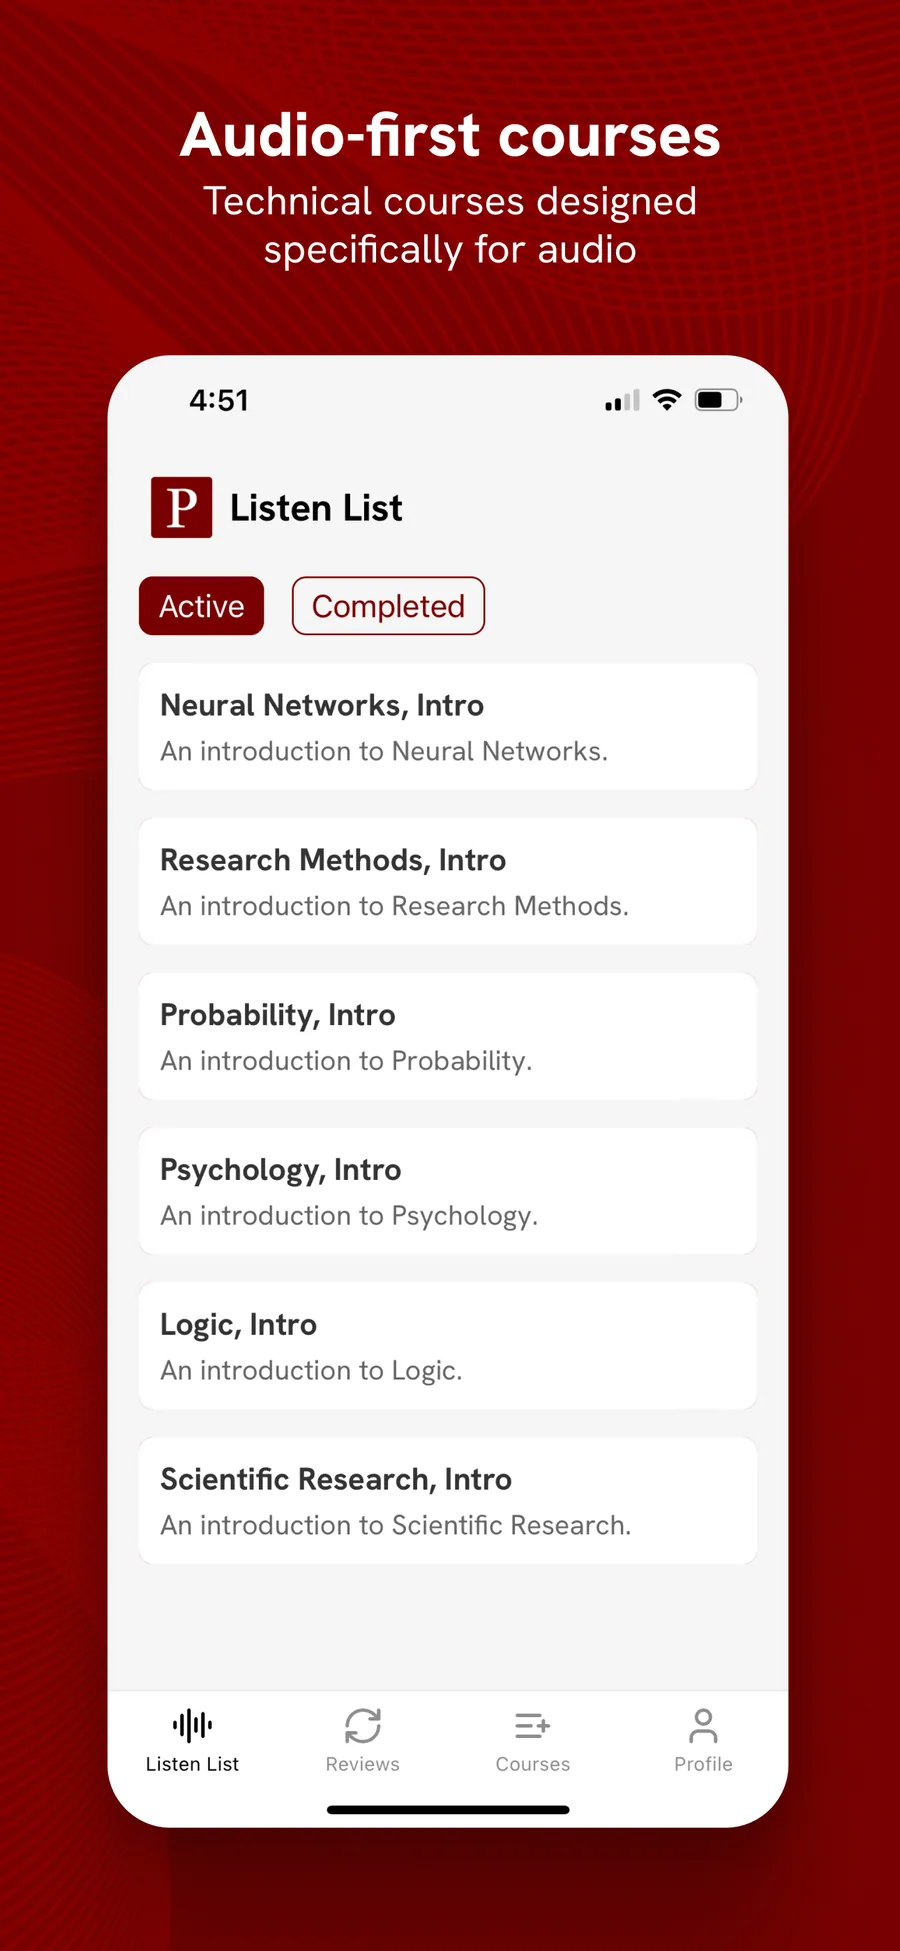
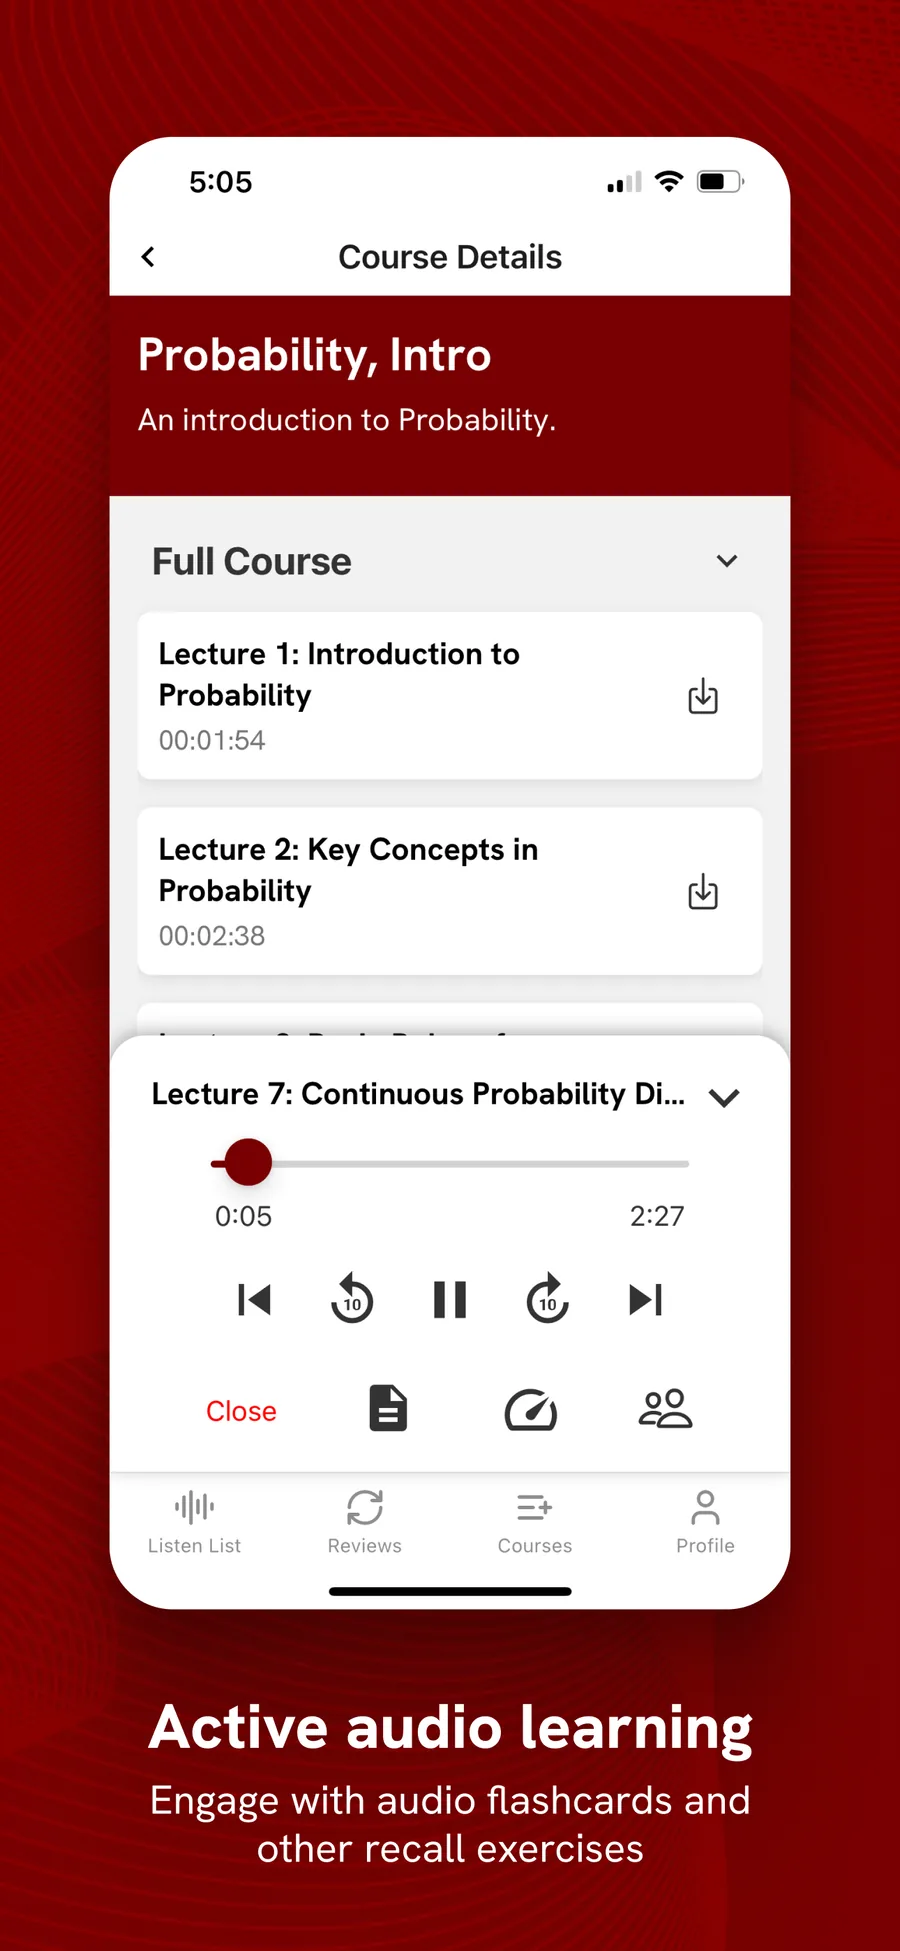
So roughly one to three months. Bigger apps take longer: Matthew L. launched Polym, which turns technical subjects into audio courses, on NativeExpress in three months and described it as "a fairly complex mobile app." It now sits at 4.6 stars on the App Store.

The second app goes faster, because you are no longer learning App Store Connect and review alongside your product.
For the first time, I felt like I was actually going to make it to the App Store with my idea.
 Ilya LibinShipped his first app
FAQ
Can I create my own app for iPhone?
Yes. Anyone of legal age with an Apple Account can enroll in the Apple Developer Program as an individual and publish apps. With React Native, Expo and a coding agent, you do not need prior mobile experience, though you will need to make decisions, follow setup steps and test on your phone.
How much does it cost to build an iPhone app?
If you build it yourself, the fixed cost is the $99 a year Apple Developer membership. Expo's free plan covers 15 iOS builds a month, and most backends and analytics tools have free tiers to start. Hiring an agency is a different order of magnitude, which we break down in how much does it cost to make an app.
Is it hard to build an iPhone app?
A screen is easy. A finished app is harder than it looks because of sign-in, payments, privacy rules, builds and App Review. Coding agents have made the code much faster to write; deciding what to build and getting through the store process still take time.
Do I need an LLC to start an app?
No. Apple lets individuals and sole proprietors enroll under their own name, and your legal name then appears as the seller on the App Store. To show a company name instead, you must enroll as an organization, which needs a legal entity and a D-U-N-S number (free, but it takes time). Whether you should form a company for liability or tax reasons is a question for a lawyer or accountant where you live; this is not legal advice.
Can AI build me an iOS app?
AI can write most of the code, and coding agents are now the fastest way to a working iPhone app. It cannot enroll in the Apple Developer Program for you, test on your phone, decide what is worth building or answer App Review. Expect to work with the agent, not hand it a sentence.
Can I make an iOS app on Windows?
Yes, with React Native and Expo. You write the code on Windows, EAS builds the iOS binary in the cloud, and EAS Submit uploads it to App Store Connect without a Mac. You cannot run the iOS Simulator on Windows, so you test on a real iPhone with a development build. Xcode and native Swift development do require a Mac.
Can I develop an iOS app for free?
You can develop and test for free. Expo Go runs your project on your iPhone with a free Expo account, and on a Mac, Xcode lets a free Apple Account install up to 3 apps on your own devices, with profiles that expire after 7 days. Publishing to the App Store, TestFlight and development builds on a device all need the $99 a year membership, unless you are an eligible nonprofit, accredited school or government entity that qualifies for a fee waiver.